Inlaid Die Cutting with SSS Forget Me Not Wafer Dies
July 29, 2017
Last week I had a Facebook live session talking about Nuvo Aqua Flow Pens and amongst the things I said in the video I talked about how to make a distressed background using the pens's ink.
In the video I promised I would make something with that distressed background so today I'm sharing 2 card ideas using it and also using beautiful dies from Forget Me Not Wafer Dies and "Sending" word wafer die by Simon Says Stamp.

Ok I'll start by telling you how I created a distressed panel.
I applied the ink of the blue and purple Nuvo Aqua Flow Pen on a plastic surface and I sprayed with water. I tapped the paper on it and I dried the paper with a heat tool. I tapped the paper on top of the little ink droplets remaining on the plastic so that I got an interesting texture. The technique is not new but I wanted to show some other options to use the aqua pens and the gorgeous colours they provide.
A fun thing I found is that depending on how you mix the inks of these pens you can get colours that coordinate perfectly with the beautiful colours of Simon Says Stamp Cardstock .
I used Lavender Purple Cardstock and Island Blue. I think the color coordination is always a plus and I'm seriously loving Simon Says Cardstock. Yummy colours and it's smooth too!
I was planing to use the whole distress panel and die cut it repeatedly with the leaves from Forget Me Not Wafer Dies by Simon Says Stamp but when I was die cutting the panel I noticed that the "large leaves dies" are curve so they would allow me to create a circular or wavy pattern on a panel!
So I changed my mind about what I was going to do and I tried to put in practice the new ideas but keeping the leaves die cuts I got from that distressed panel .
For one of the cards I used a 4-3/4"x 5-1/4" (12x13.5cm) white smooth piece of cardstock and with a pencil I drew a 3" (7.5cm) circle. Then I aligned the ends of the die with the edges of that circle and then I proceeded to die cut the panel. I die cut it 4 times to create a wreath.
I added the distressed leaves die cuts in to the negative space created by the dies and I also added some die cuts here and there to fill any gap on the wreath and underneath the flowers.
I added the distressed leaves die cuts in to the negative space created by the dies and I also added some die cuts here and there to fill any gap on the wreath and underneath the flowers.
For the other card I used 2 pieces of 3-3/4" x 5-1/4" ( 9.5 x 13.5cm) white cardstock and using the "leaves die" I cut one of them diagonally to create a wavy edge.
I traced lines with a Lilac Nuvo Brush Scrip Pen on the other piece and then I glued on top half of the panel I die cut previously. Then I laid down the distressed leaves and I added a flower.
This is something that is really easy to do but a bit hard to explain in words, especially as English is not my first language, so I will make a video to show you how to do this and it will be available shortly on my Youtube channel here!
I embellished both projects with Raspeberry Pink Nuvo Crytal Drops.
I made wrinkled flowers and I coloured them with the ink from the blues and purples Nuvo Aqua flow Pens diluted with water. I previously made a video in which I show how I made this kind of flowers ( watch video minute 4:13).
I also added some lines with a blue Faber Castell Classic Pencil and I added some white and black dots with uni- ball fine tip pens.
Below a picture of the dies so you can have a closer look and all supplies used are at the bottom of this post.
 |
| SSS Forget Me Not Wafer Dies |
I really hope you enjoyed the ideas today. Please do not hesitate to ask any questions or leave a comment I would love to hear from you.
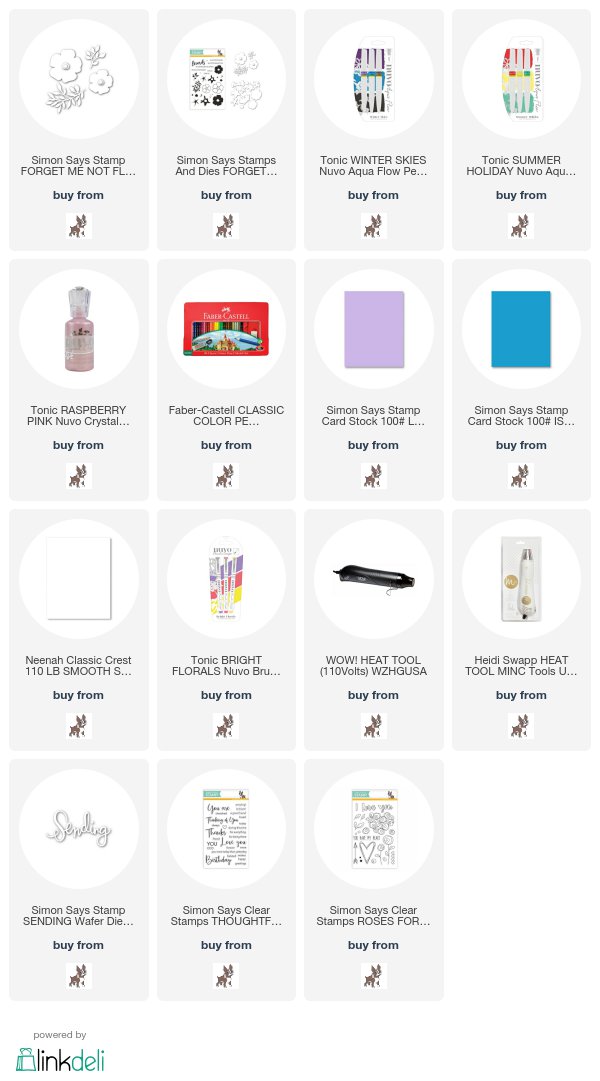
If you would like to place an order for any of the products used or any other craft supply simply click on any of the images below to go direct to online shops 24/7. Affiliate links apply. I get a small commission when you buy through these links at no extra cost to you.
Thanks for your support.
x Bibi


2 comments
Fabulous card... Bibi... you are amazing.... love those flowers...
ReplyDeleteHugs Sylvie xx
Love these 2 cards. TFS. Also Thankyou for detailed and clear tutorials
ReplyDeleteThanks for your comments.