Arteza Everblend Markers - My First Thoughts
May 15, 2020
Hello everyone, Arteza contacted me for a new collaboration, and this time I chose the Everblend Markers!
Many of my friends have been asking me about these alcohol markers and in this post, I'm sharing my first thoughts.
I'm not an expert tho but I do love coloring so in my humble opinion these markers worth a try!
Many of my friends have been asking me about these alcohol markers and in this post, I'm sharing my first thoughts.
I'm not an expert tho but I do love coloring so in my humble opinion these markers worth a try!
As I love to show you the products in action in the video below you can see my first coloring adventure with the Arteza Everblend Markers.
10% discount for my blog readers!
Use the code BibiCameron4 at the checkout
The code is valid until June 20 - 2020
Use the code BibiCameron4 at the checkout
The code is valid until June 20 - 2020

I got a set of 60 colours and the very first thing I did was colour swatching. This made easier to identify colours I could use for this illustration.
Make sure to visit the post here for more detailed info about the markers themselves.

As I wanted to do something special for this first post, I browsed the web looking for an illustration or a large digital file.
I found Gluiki Art here , she is from Russia but her parents and their ancestors come from Georgia, Ukraine, Israel, and the indigenous people of Siberia (Ewenki).
I felt in love with this illustration and Gluiki kindly offered to send me a digital file ready to print in any size.
I decided to go BIG and I printed the image to fit an A4 sheet of X-Press It paper.
I used an HP 1102 LaserJet. The printed image bleed a little bit after printing on X- Press It but it wasn't that bad.

My goal was to try to get a good blend and the color even on a larger area such as the deer face.
So coloring the deer face was challenging to me as this image is 10 times the size of what I'm used to.
As a novice using the markers, I thought if I could do this I could defo color critters and flowers for cards with no problem.
I have to confess that at some stage I stopped thinking rationally. I just colored like crazy.
BTW, I was surprised to see how much ink X- press it paper can hold!

I also decided to add colour to the background.
I started with a light colour but then I changed my mind and I added black.
As the black colour was pretty uneven (see picture above), I applied a technique from Kathy Racossin from the Daily Marker. She applies an alcohol blending solution on a small towel offcut and then dabs it over the colored piece to create a texture.
So after quickly doing that, the background was looking better. Just as in the picture below.

Kathy's technique is awesome to camouflage color imperfections.
I didn't do the process to perfection tho but I guess you can see the change in the background texture.
My mistake was using a microfiber cloth instead of towel fabric as Kathy advise. It absorbed the solvent really quick. It felt pretty dry quickly so it didn't have the same effect on the ink. I think!

So this was a test sheet but I decided to share the process together with my main post here.
I don't really know if you prefer illustrations like this one or floral patterns.
If you like florals you defo have to see my next post here.

That's all for today, thanks for stopping by!
Sending Hugs,
Stay Safe
x
Bibi
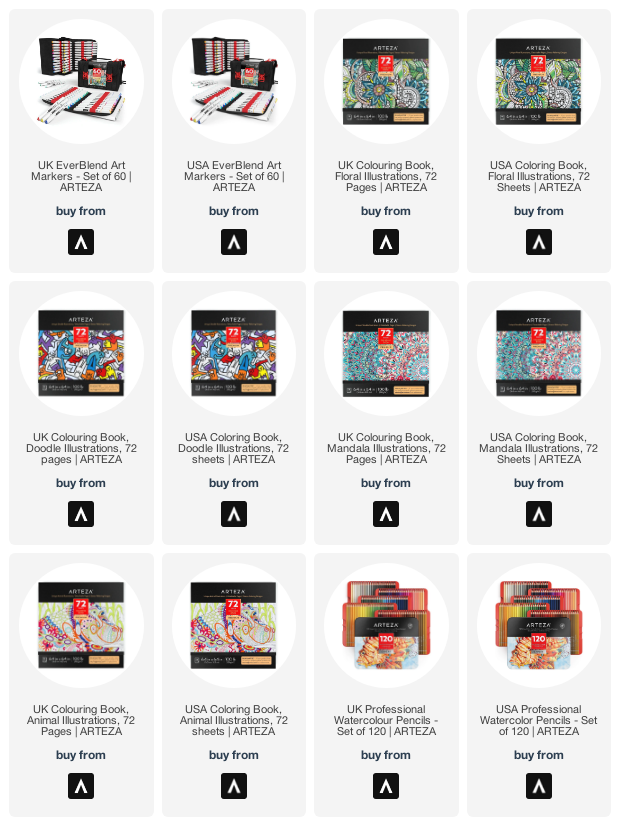
Supplies List
Just a note to let you know that when you buy through the links in my blog I get a small commission at no extra cost to you.Thanks for your support!


0 comments
Thanks for your comments.