Zen Bouquet by Honey Bee Stamps + Arteza Real Brush Pens
January 16, 2018
Loving the Zen Bouquet stamp set by Honey Bee Stamps. It is HUGE!!! You can stamp beautiful tone on tone backgrounds for speedy projects or spend some time colouring the beautiful image.
I did take my time to enjoy colouring while trying the Arteza Real Brush Pens on watercolour paper.
I used Canson watercolour paper 300gram, this paper has too little texture. I love it!
Watch speed video. The video doesn't have voice over but you can still see details on how I colour this image.
In my post yesterday I shared the video here and I was talking about my frustration using Arteza markers on Bristol smooth paper (270 grams).
I mentioned that the ink of the pens wasn't blending nicely with water when using water brushes but their ink blended nicely when mixing colours directly from the pens.
To make it easy for me today, I stamped the image using Versafine clear ink and I heat embossed it using Nuvo Black Jet fine detail embossing powder. Colouring heat embossed images is easy - peasy! And by the way ... I love the fine detail embossing powders as they are perfect to heat emboss images with loads of tiny details. They will reveal them all!
So I have to say that I love the pen's performance on watercolour paper!
The colour application was easier than over Bristol Smooth paper. However, when blending the pen's ink with water they work well in small areas butnot in large areas. I found some challenges colourmg the background of the card today . Little challenges tho not a big deal!
I used 2 different blue pen colours and after applying 3 layers of colour the background was still looking very patchy.
To try to fix this I applied a wash of water using the water brush but the colours didn't blend so that I splattered an opaque white watercolour paint over the whole panel and Voila! colour problem fixed!!
I used Schmincke Aquarelle -Titanium opaque white. You can use any similar watercolour paint.
Once the panel was finished, I thought about cutting it with a die. Hmmmm...after spending all that time colouring the background it will be a sing to do that. I texted my incredibly talented friend Keren Barker, and she gave me a great idea: instead of cutting the panel, she told me to cut a frame and pasted on the image to frame it! Voila, problem fixed!
I love framing images this way. I have other card ideas here and here ... have a look as they are very pretty! :)
I also love covering the whole background with dark colours.. check out this card here- Zigs colouring .
oh! and I used an alphabet stamp to stamp the sentiment "You are the artist and the art". It took quite a while to organize the letters on the stamping platform but once is done, is done. You can stamp this way any sentiment, this is also perfect for mass production.
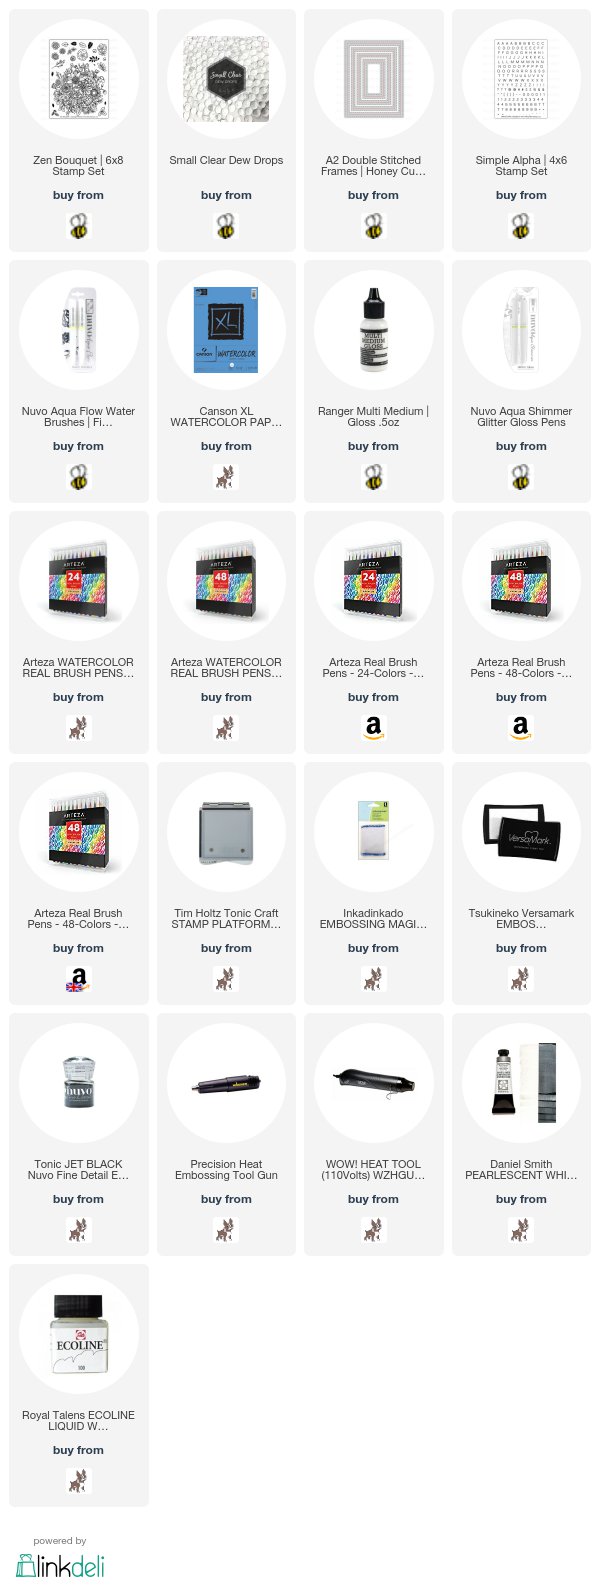
I listed the main supplies used below. Please do not hesitate in make any question or leave a comment. I would love to hear from you!
Thanks for stopping by and happy crafting!
Hugs
x
Bibi
x
Bibi


0 comments
Thanks for your comments.