Positive and Negative Die cuts + transparencies |SSS Cosmo Flower Frame Wafer Die
February 28, 2018
It has been a while since I want to incorporate transparencies or acetate to the front panels of my cards not only as part of a shaker or a window but as their main feature. I also used the negative and the positive die cut image to give you extra ideas today.
So I made another couple of CAS cards using Cosmo Flower Frame Wafer Die by Simon Says Stamps. Check more ideas here!
These are C6 cards.
I'll be uploading a video on my Youtube channel to show you with detail how easy is to make these cards and other designs using Cosmo Flower Frame Wafer Die, so stay tuned as it will be available soon.
Now let me show you more pictures.
I scored the acetate to create a top folding card and then I worked on the card topper. I simply glued the topper on the acetate with strong double-sided tape.
For this card, I applied colour to the flower using Nuvo alcohol markers and I embellished with Nuvo Aztec Gold Accents and sequins.
The sentiment was made using Here For You wafer die by Simon Says Stamp!
Once the front panel was done, I sandwiched the back piece of the acetate between 2 layers of white thick cardstock...
... I used scrapbook paper behind the acetate but I only glued it to the card base using double-sided tape.
So the scrapbook paper will be covering the inside of the card and there will be enough space behind it to write a message without showing it through the acetate. Easy isn't it?
For the card below, I die cut the flower out of watercolour paper and once all the die cuts were layered on the acetate I added washes of colour with Daniel Smith watercolour paint.
It took me a wee while to adapt the technique ( in the video here) to inlaid the die cuts. This die is different than the ones used in the video but after making a few test I found how to make it work.
When using larger die cuts you don't need to wet the die before cutting the paper as I show in the video, you might want all those pieces attached to the paper, remove the paper from the die completely and then temporally adhere the die cuts to the die again. Then you can adhere the die cuts using the die as a template an later to your project as I show in the video.
I really have to explain you this in another video so you can fully understand what I mean. It is hard to say it just with words especially when English is not my first language but trust me getting all the die cuts stuck on the acetate it is very easy and it only takes a few minutes.
BTW I'm a bit slow editing videos and I have a few pending for the edition. Not only motherhood but a new visa application. I'm from Colombia -South America living in Scotland with my British hubby but I still have to renovate my visa this year ( it is a 43 pages application form). I'm also working night shifts a couple of days per week so I have been a bit extra busy but I'll get there. The videos will be ASAP on my channel.
That's all for today I hope you like the cards and the idea.
Click here to Subscribe to my blog here! or my Youtube Channel here to get my latest blog post or video directly in your inbox.
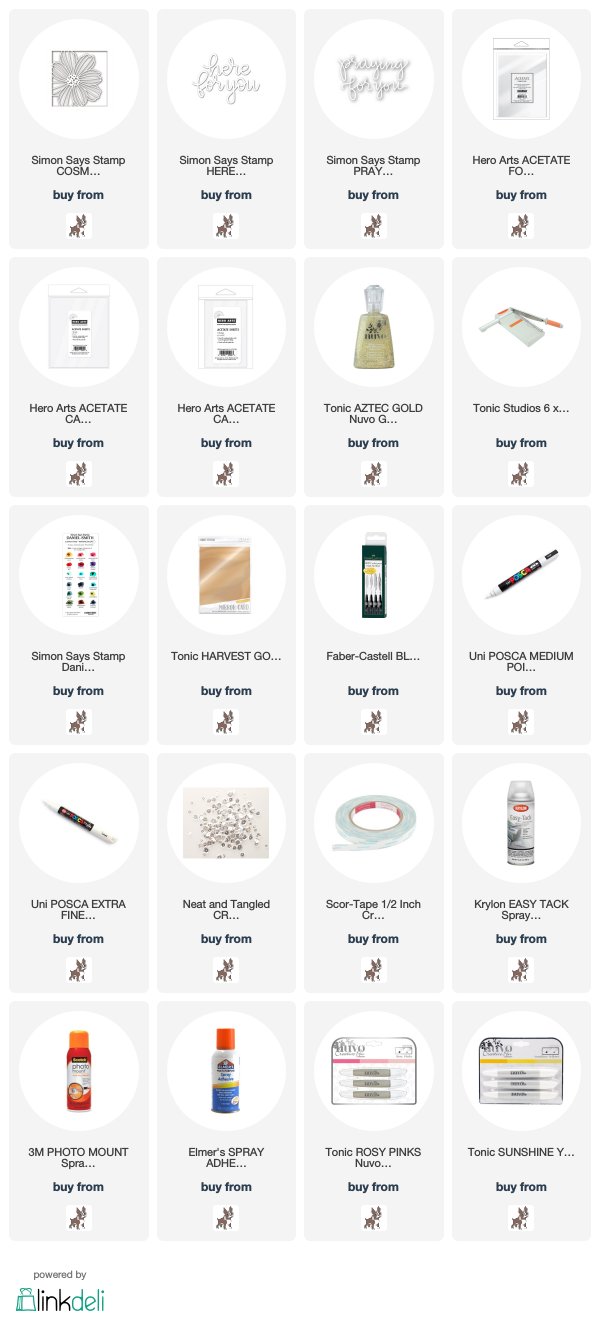
I'm listing supplies used or similar
Happy crafting
x
Bibi


0 comments
Thanks for your comments.