You make my tail wag | Playful Pups by Honey Bee Stamps
March 19, 2018
Once more here I am trying to build sentiments by mixing and matching stamp sets and for today's card I used Playful Pups stamp set, Pawsome Sentiments stamp set and Snow Birds Stamp Set by Honey Bee Stamps.
As always, this card was born from an idea but it becomes something else :)
Using the super yummy black Simon Says Stamp Black Ink, I stamped all the images first and accidentally I did it on Stampin' Up! Shimmer Cardstock, this paper looks so alike than Bristol Smooth paper... it is beautiful but it is not ideal for watercolor as Bristol is.
Anyways... I also stamped the sentiment "You make my tail wag" below the images but this is not the way you see it in the pictures as I changed my mind and I cut the sentiment at the bottom of the panel and after adding colors to the background I stamped the sentiment above the pups.. yay! that looks better.
So I added colours to the background even before adding colours to the pups.
I knew that masking wouldn't be necessary because when applying soft distress ink colours over an image I could easily cover those colours with my Zigs later on.
I applied Tumbled Glass Distress ink behind and over the pups. I tried to be careful and not colouring the little dogs but without masking that was mission impossible but no worries, you will never notice it.
Then I cut a triangular piece of printer paper using scissors and I placed it over the centre of the panel covering the pups. I added Faded Jeans Distress ink colour around it and towards the edges of the panel so in that way I created a super easy focal light over the pups.
I'm not sure why I did that but when it comes to create backgrounds you need to do something so that was my "something" for today. lol
I grabbed my Zigs ( waterbased markers) and I knew the Zigs' ink doesn't run easily on shimmery cardstock. [Just in case you are new reading one of my post the best smooth paper I have tried is my beloved Bristol Smooth paper using water-based markers with Bristol is a dream.]
To be honest I thought I would need to start over on the right paper but then I remembered the wise words of Kathy Racoosin from the Daily Marker. She said : "you can always make it work", I had the chance to meet her in her short visit to the UK last year and she inspired me to avoid sending my projects to the papercraft heaven, she is an amazing\ stamper so I have to give her credit today and I want to make eco of what she shared with me...
"You don't need to start over or bin your projects ... just keep going and make it work"
I did my best to avoid the patchy look of the water-based ink on this paper and once I finished adding colours I then proceed to stamp the sentiment at the top but I felt that something was missing.. a lot was missing actually!!
I needed some kind of embellishment because my card looked so simple and naked... so I remembered the small "Snowball Shaker Kit", those are tiny mini white balls you can use as snow on your cards.
So ok let's add the snowballs with a bit of tacky glue Bibi!
I added some tiny balls over the head of the pups as they were enjoying the snow.... and then what? what is the relation between the snow and "You make my tail wag"?
Then, I thought I could use Snow Birds Stamp set to complete my sentiment and voila!!! that makes sense now...
"You make my tail wag.. You are snow much fun"
I love it !! Now that I think these pups will make beautiful Labrador, Beagle or Jack Rusell pups if you add colours in different ways. Argghh!!! Think first craft later Bibi!
I stamped some snowflakes with Hero Arts white ink and to add some sparkle I added Pure Sheen Conffeti by Tonic Studios ( starts and circular holographic shapes).
I also added Black Nuvo drops on the eyes and nose of the dogs, Nuvo Crystal Glaze on the dog's collar, and as always I added white and black dots here and there.
Ok so at that point my panel has too short ( remember I cut the sentiment from the bottom of the panel, this actually meant to cut the half of the panel ) so to extend the panel again I die cut a piece of shimmer cardstock using Hill Borders Honey cuts and I tried to frame the image by adding 2 extra pieces of paper, one at the top and one at the bottom of the panel using dimensionals.
That was the way I rescued this card... I think that's what papercraft is about. You won't believe the amount of time and brain you put in a simple little card so any attempt to save your creations is well worthy.
oh! I almost forgot. I used the tiny little stars from Curious Kitties stamp set to fill in an empty space just under the sentiment... This is a tiny detail but it also makes all the difference.
I could resist and I turn down the lights to try to capture the sparkle on this card .. check it out on my Instagram and Facebook!
Subscribe to my blog here or my Youtube Channel here to get my latest blog post or video directly in your inbox.
Happy crafting!
x
Bibi
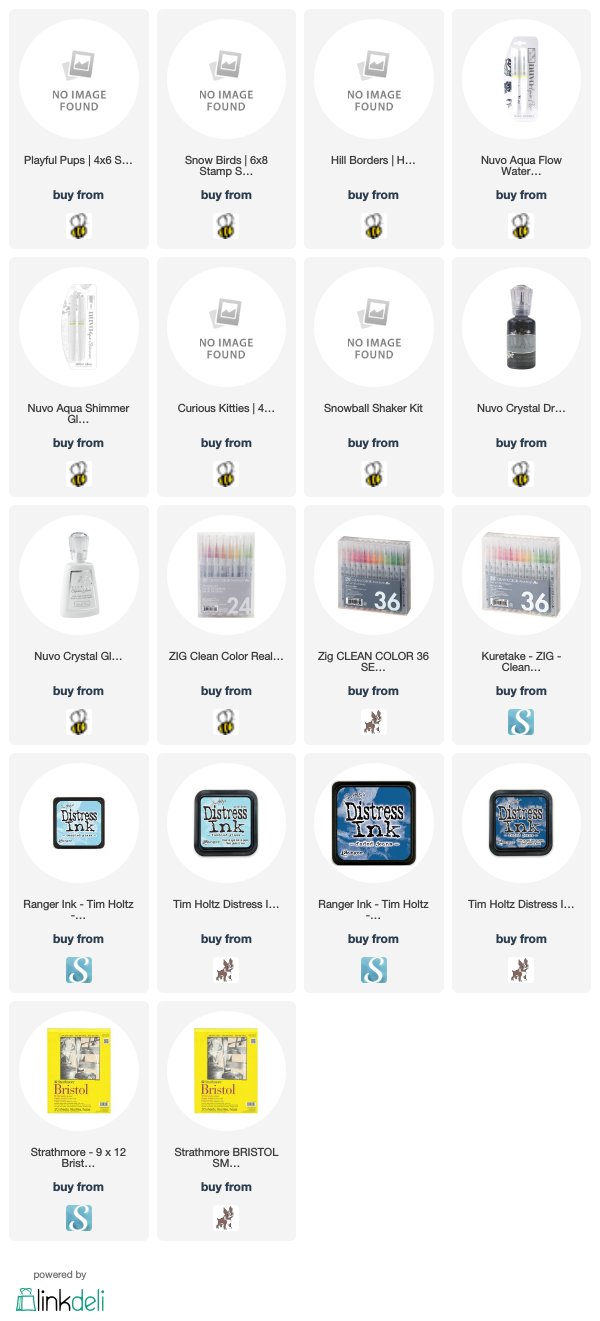
Supplies
Affiliate links apply, this means that I get a small commission when you buy from any of the links in my blog of Youtube Channel.


0 comments
Thanks for your comments.