Pawsome Love San Valentine's Day Card and Tag
January 18, 2020
Love is in the air and I really like to make San Valentine's Day projects!
So today I'm featuring various supplies you might like to add to your stash:
- Pawsome Love stamp set
- Love and valentines Word Mix stamp set
- Nested Tags die set
- Heart Garland Background stamp

The Pups
- I first stamped the images from Pawsome Love stamp set using Intense Black ink by Simon Says Stamp.
- I added color with a light grey Copic marker all over the images.
- With a pink marker, I added color to the doggie's cheeks.
- Then, using a dark grey marker I added some strokes in flicking motion from the edges of the images to the center of the images.
- To add contrast, I used a black colored pencil over the marker ( also in flicking motion)
- I also used a white posca marker to add highlights.
- To add color to the hearts I used a red Copic marker and a brown colored pencil over.
- I added Nuvo Crystal Glaze over the heart, the dogs' collars, eyes and nose to add gloss.
- I also apply Nuvo drops on the collar.
- To add extra cuteness, I made a tiny bow to add to one of the dog's head.
- I added lashes to the doggie with the bow.

The Background
- First I attached the Heart Garland Background stamp on the Tim Holtz Stamping Platform, making sure the lid was set to use rubber stamps.
- Using red ink, I then stamped the background panel multiple times and until I got a very sharp stamped image.
- I then die cut a heart-shaped window using one of the dies from Staking Heart die set by Honey Bee Stamps.

The large sentiments are from Love and Valentine Word Mix stamp set and the small one on the card banner os from Pawsome Love stamp set .

The Tag
That's all for today.
I hope you like these ideas
Happy Crafting!
x
Bibi
Just a note to let you know that when you buy through the links in my blog I get a small commission at no extra cost to you.
Thanks for your support!
- I first proceed to stamp the sentiment "Love you more each day" onto the card base.
- To do this I simply place a blank A2 card base on the stamping platform with the stamped and die-cut background panel on the top as I needed to make sure the sentiment will be stamped in the right place.
- So after finding the right placement for the stamp, I stamped the sentiment using red ink.
- I then, adhered the panel to the card base using foam tape just to add a little bit of dimension.
- I stamped a banner using Black ink and I used a small die to cut the word love and added to the banner.
- I also stamped a sentiment on the envelope.

The Tag
- To make this little tag I used Nested Tags die set .
- I stamped a background panel and die cut it using a large tag die.
- I made a frame for the tag, using a larger and smaller tag dies as shown in the video here (minute 14:16)
- I also added color to the images using Copic markers and colored pencils.
- the sentiments are also from Love and Valentine Word Mix stamp set
That's all for today.
I hope you like these ideas
Happy Crafting!
x
Bibi
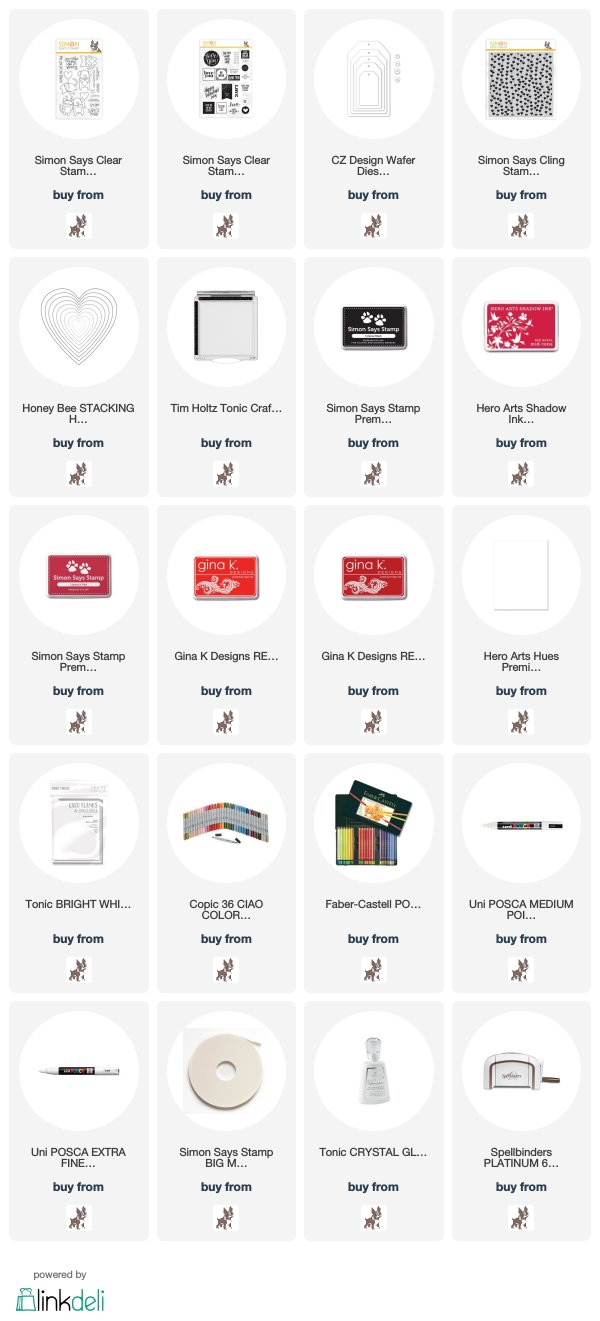
Supplies List
Just a note to let you know that when you buy through the links in my blog I get a small commission at no extra cost to you.
Thanks for your support!


2 comments
Oh my! These are absolutely adorable! I love that heart garland background stamp and how you combined it with such cute critters. Kindly link back to the Papercraft Business challenge to qualify for the challenge :)
ReplyDeleteThank you for sharing your beautiful work in our papercraft challenge & we hope you will join us again in the next Papercraft Business Challenge!.
Anna – Design Team member at Papercraft Business
Visit my blog - Crafty Anna Studio.
You can also find me on Instagram - CraftyAnna Studio
Thank you!
I love how you were able to make the dogs look shaggy! Thanks for playing along with Papercraft Business Challenges!
ReplyDeleteJill – Design Team member at Papercraft Business
Visit my blog - Killeen House Studio
Thanks for your comments.