EASY FLOWER PEEK-A-BOO Die Cut Card | Tonic Studios
June 02, 2020Hello everyone, Tonic Studios is releasing today a beautiful 28 Pcs die set designed to create easy and effortless Floral Peek-a-Boo Cards.
It is called Peek-A-Boo Time to Shine.
Peek- A- Boo Time To Shine die set is on promo this week
35% Off at:
I made a 6-1/2 x 4-1/2 inches card to share a video tutorial with you and a 5x7 inches card to share step by step pictures.
Peek-A-Boo Die Set Includes:
2 sets of decorative dies that will allow you to create endless compositions by combining different dies within the set.
- 2 flower designs + 1 backing plate
- a pair of intricate corner dies.
- 2 Triangular corner dies designs + 1 backing plate
- 2 leaves design + backing plate
- 2 sentiments + 2 backing plates ( 1 each)
Watch Video Tutorial
Step by Step
Step1. Select paper and die cut all the pieces
Step 2. Identify main pieces to assemble the Peek- A- Boo and glue decorative die cuts over
Step 3.
- Place the leaves holes facing down and align the first hole in each left with the hole in the pull-up tab.
- Affix using brads.
- Insert the pull-up tab in the peek-a-boo background panel as shown in the pictures.
- Align the hole in the background panel with the second hole in each leaf
- Affix using brads.
- To cover the mechanism use the large semi-circular decorative die-cut in the first picture below.
- This die-cut has little flaps on the sides. Fold the flaps and add glue only over the flaps. Then adhere over the panel making sure the bottom of this die-cut is aligned with the bottom of the peek-a-boo background panel.
- You can also glue the flaps to the back of the peek-a-boo panel if you prefer.
Step 8. Apply glue behind the panel. Avoid adding glue on the pull-up tab area.
In the step by step pictures the final card measures 5x7 inches.
That's all for today, I hope you like these cute die set and ideas.
Happy Crafting!
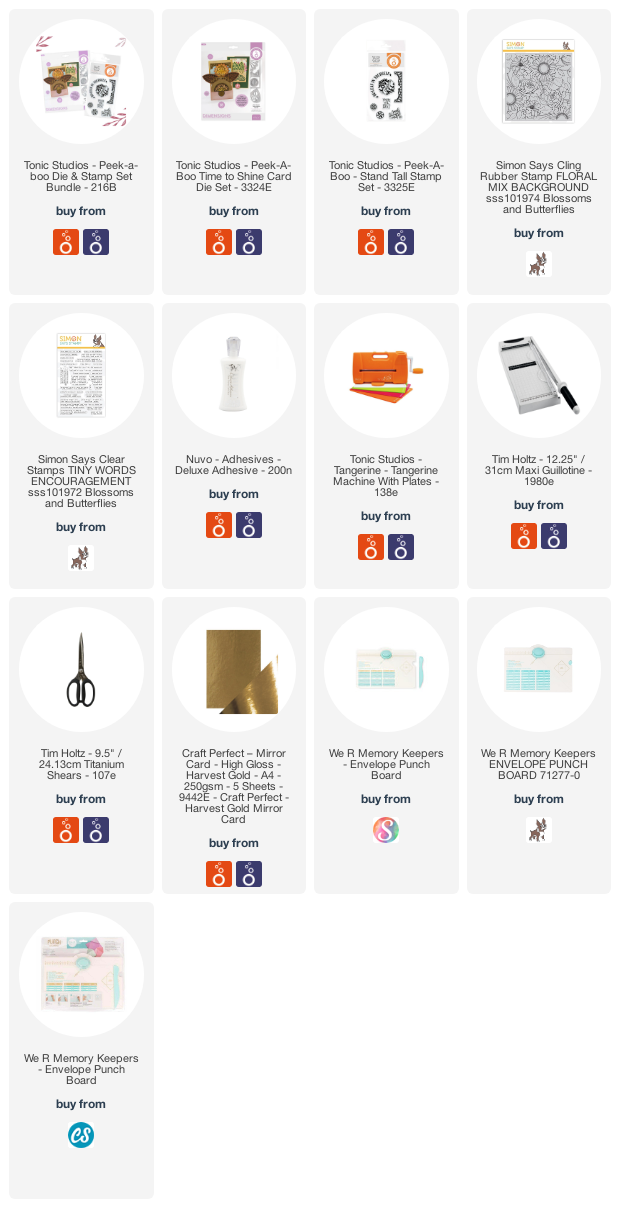
Supplies
Just a note to let you know that when you buy through the links in my blog, I get a small commission at no extra cost to you.
Thanks for your support!


0 comments
Thanks for your comments.