Personalised papercraft projects with Stitched Alphabet Stamp Set
August 12, 2017
So here I have a second composition starting from the previous idea here. This time I made a notebook -planner cover but when you add a personalised element such as stamped names or dates the possibilities for your papercraft projects are endless. I always keep in my stash alphabets and numbers dies and stamps.
I used Stitched Alphabet Stamp Set from the last release by Simon Says Stamp called "Back to School - Encouraging words" and I paired it with More Spring Flowers Stamp set because its images also have stitches over the edges but due to the technique applied to colour the images in this post you can't see the stitches on the flowers. You will see them in my next post however...
I'm loving the stamping possibilities when using the large fonts in this gorgeous and unique stamp set ( they measure about 3cm tall) and you can pair them with any other image to build up messages for any occasion. The sky is the limit!
As in the other 2 projects I'm sharing today the stamped fonts are the focus but next week I'll share other card samples using them to create backgrounds.
How I did it?
- I applied a no line watercolour technique so I stamped first using Antique Linen Distress ink and then I applied watercolour.
- Instead of using Brusho Crystal Pigments powders as in my previous project I used Kuretake Gansai Tambi watercolours.
- I reduced the tension of this composition by stamping loose leaves here and there and I applied subtle colours.
- I also used journaling numbers die set by Neat and Tangled to add the date and I coloured the numbers using Nuvo Grey Gunmetal Mousse.
- I also embellished using Nuvo Silver drops.
- I also coloured the front of the notebook ( originally Kraft colour) using a black Nuvo aqua flow pen.
- I traced a couple of lines using a micro fine uni- ball pen.
Now simply click on "next" to see a final project I made yesterday also inspired by the idea in the first post here.
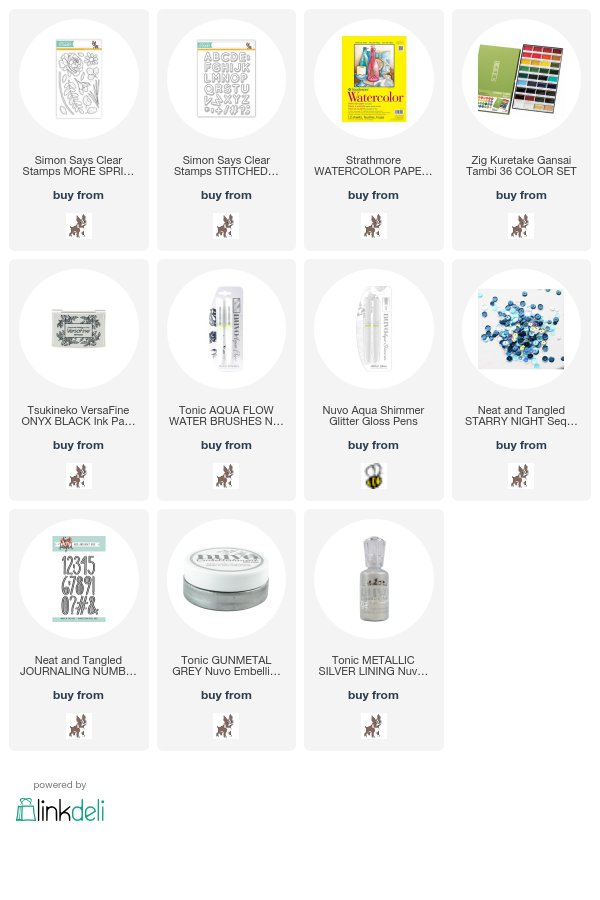
That's all . I also listed all the supplies below..
Thank you for visiting my blog today . Do not hesitate to leave a comment or ask any question I'd love to hear from you.


0 comments
Thanks for your comments.