Nativity Scene diorama Shadow Box cards | Video tutorial
October 18, 2018
Hello from Scotland, it's Bibi Cameron and today I have loads of pictures and ideas to create extra cute diorama/shadow box cards using beautiful Neat and Tangled supplies from the latest releases.
For the cards below I used "Nativity Play", "Angel Wings" and "Oh dear" stamp and die sets by Neat and Tangled to create nativity scenes and I also used Seeing Stars die and Card Front Designs die set.
All the cards in this post are 1"depth.
In the video below I'm sharing the card making process, some tips and a formula to create this kind of cards in any size.
As I mentioned in the video. I used 300 grams and 240 grams paper to make these cards.
I thought that 300 grams paper could be to thick for this projects but you can make your own mind about what kind of paper you would prefer to use after watching my video. I'm still not sure what it is the best. I'm Ok with 300grams but I found easier to work with 240 grams or 270 grams paper for this kind of project. Just because the thick cardstock is very stubborn!
 |
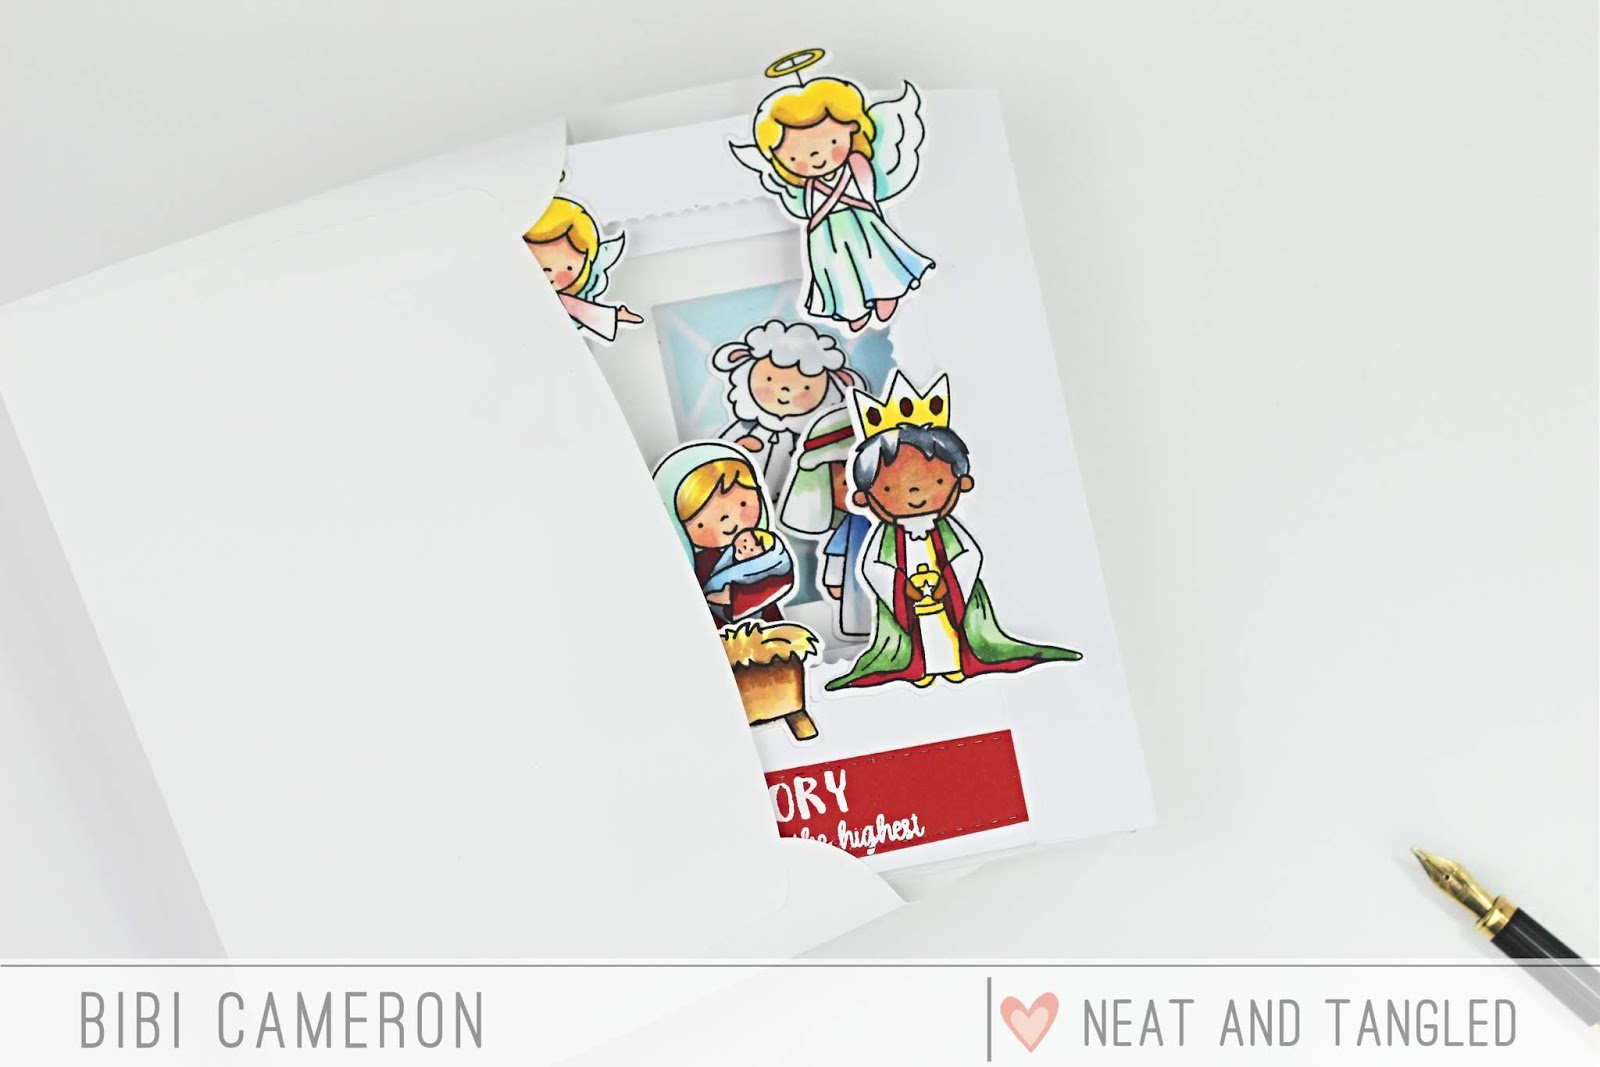
| For this card, I used 240 grams cardstock only. The front of this car measures 6"x6" inches and the card folded measures 7" width so that the envelope was customized to fit a 6"x7" inches card. This is a great size to create a nativity scene with images from Nativity Play and Angel Wings stamp sets.
I used the ovals from Card Front Designs die set to create the windows in this card and also die cut the front panel using a small die in this set so that I added a kind of legs for the nativity scene.
You can make loads of things with Card Front Designs die set. such as a shaker globe, or a Christmas bubbles, tags.. just play around with the shapes.
|

I added colour to all the images in this post using Ciao Copic Markers ( Set B) and I added shimmer with a Nuvo Shimmer Pen.
 |
Here you can see how the card lay flat on the envelope and yes! This card is big. I love it!

You won't have any trouble to fit the cards inside the envelopes. They will be just a bit bulky I think that using 300 grams paper for cards that will be mailed could be a better option.

This small card that will fit a C6 American standard envelope. Folded it measures 5-1/2 " x 4-1/4" inches. However to fit the angels and Balthazar the card needed a larger envelope so I used a UK British standard C6 envelope this was only because some of the die cuts are out of the page).
I used 300 grams cardstock to make this card. The 3rd layer of cardstock is made out of 240 grams cardstock.
Below another card idea.... the layout is not vertical but horizontal.
You don't need to do any different to put this card together ... just turn around your shadow box base card and leave the folding at the top.
You can always stick decorative elements in any orientation with no prob.
 |
The front of this card measures 5-1/2 " x 4-1/4" inches and folded it measures 5-1/2 " x 5-1/4" inches. This card will fit in a 6"x6" envelope or you can customize envelope to perfect size using an envelope punch board. |

I also used Cubic Simply Stencil and Distress Oxide Inks to add interest to the front panels of the cards.

4 layers Shadow Box Card - Diorama Card Formula
FRONT AND BACK PANELS PAPER SIZE- PAPER WIDTH
Scoring lines should be traced over the width of the panel and at the same size of desire depth from both ends.
e.g. If you want your shadowbox to be 1" deep you need to apply formula above ( to calculate the width of the paper) and score the paper 1" from both sides.
- PAPER LENGTH:
INSIDE PANELS OR INSERTS SIZE
When you add layers of paper into your shadowbox, the walls of your box became thicker and thicker so that the inserts should be slightly narrower and when you adhere them into your card they will keep straight and they won't bend inside so that the card will fold flat.
Off course, this is not something I read in a book. It is just my own personal formula to make the job easy. Although I have to accept that I can easily skip any of the steps and my cards will be wonky.. it is fine tho.. perfection and handmade sometimes are not a good match :) lol.
The inside panels or inserts pieces do not need to have the same width and depth than the exterior box but they can have the same length as the box if you want to. I like it that way but depending on what you are planning to do you can do different staff with shorter inserts... e.g. add stripes of grass, clouds etc into your cards.
1. To calculate the size of the insert that goes behind the front panel you need the next formula:
Envelope /card front width - minus 1/8" inches
To calculate where to score folding lines at both ends of your panels, you need to divide the depth of your box by two (2).
2. To calculate the size of a second panel behind the front panel of the box you need the next formula:
Envelope / or card front width - minus 1/2 of the box depth measurement - minus 1/8" inches
To calculate where to score the folding lines at the end of your panels you need to divide the depth of your box by four 4.
Make sure to watch my video available Here!
That's all for today.
Thanks for stopping by and for your kind comments, I always read them all and I'm happy to answer any question.
Subscribe to my blog here! or my Youtube Channel here! To receive notification when a new post or videos go live.
Happy Crafting and many hugs
x
Bibi
Supplies
Just a note to let you know that when you buy through the links below I get a small commission at no extra cost to you. Thanks for your support.
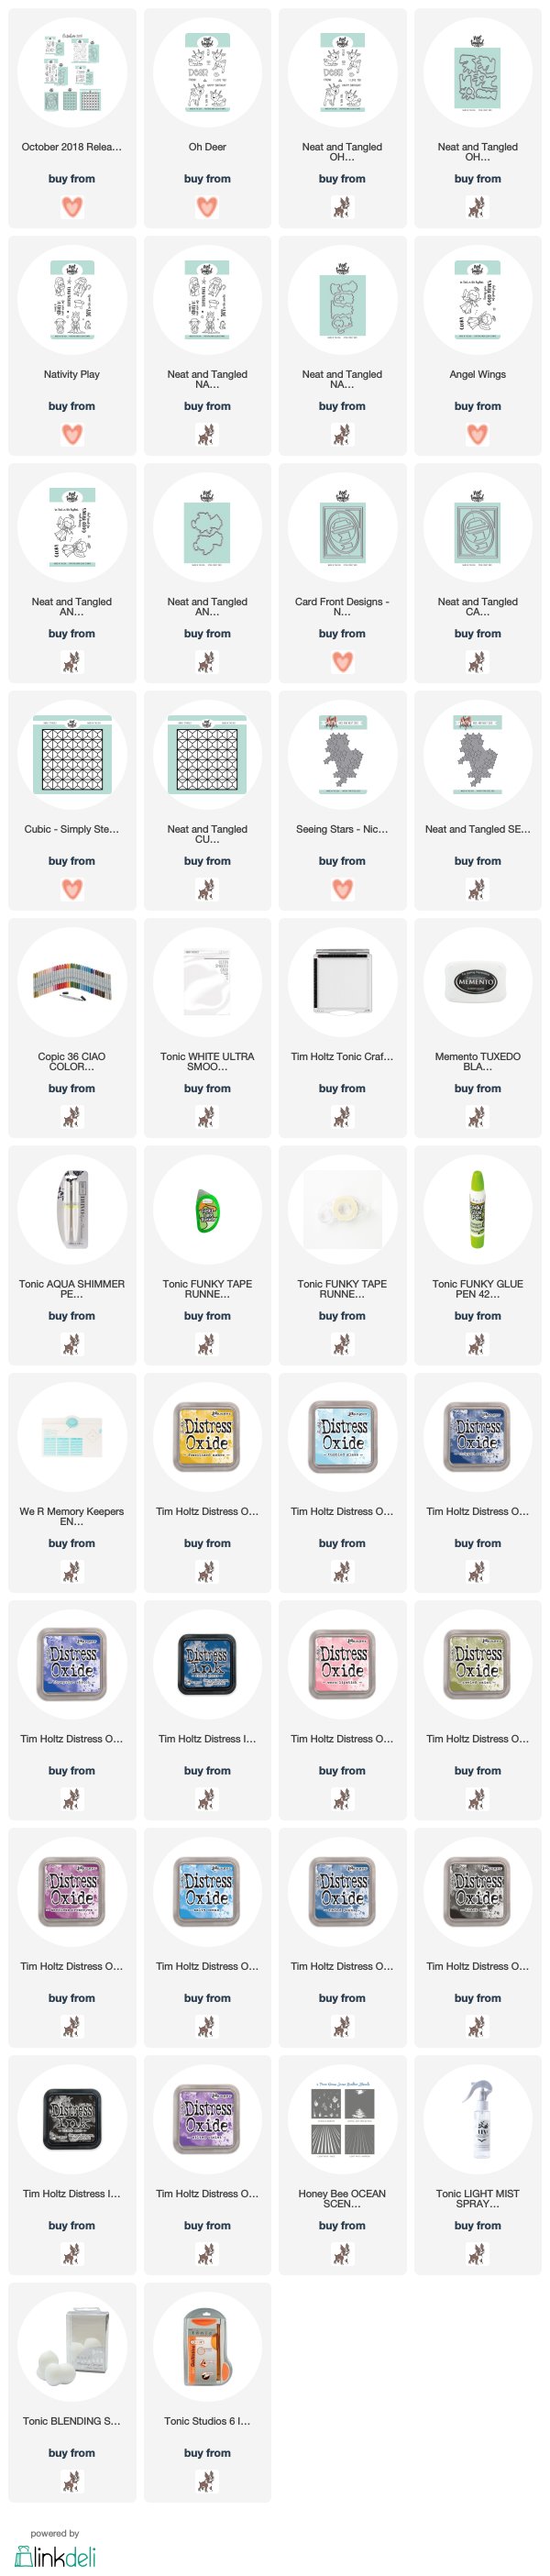


2 comments
These are fabulous cards Bibi but I don't see any video???
ReplyDelete:(
Wonderful fun cards, your characters & creatures are beautifully coloured & bright. Thanks you Bibi for so much information & guidance through this video.x
ReplyDeleteThanks for your comments.