Thank You Cards with SSS Mandy's Flowers Stamp Set + Nuvo watercolor pencils
November 30, 2018
Hi everyone, I had a break from making Christmas cards to enjoy colouring "Thank You Cards" which might be the most needed cards in my daily life!
So I grabbed Mandy's Flowers Stamp Set by Simon Says Stamp. It has gorgeous florals and it also includes beautiful sentiments and the fonts are just the perfect size and type no only to make cards, tags or boxes but to use in any other papercraft projects.
You can make modern cards or traditional cards with images and fonts like these ones.

I love mixing script and serif fonts for my hand stamped sentiments. I think this add balance to my compositions and of course many wonderful stamps designer knows that and they create stamp sets like Mandy's Flowers! YaY!!
 |
To make these cards, I started stamping different images on watercolour paper using Versafine Black ink which doesn't bleed with water.
Then I used Nuvo watercolour pencils and I used Zigs to add contrast.
I also like to use a water brush to spread the pencil pigments or waterbased inks. I apply the pencil directly on the paper and over the edge of the images and with the brush, I spread the colour towards the centre. I shared a video to show you how I do that here!
So it took me just one hour to add colour to the three panels so no bad at all. Right? Especially when you don't really know what you are doing lol. Once you know, this will be done a 20 minutes colouring.
|

They will enable you to create clean and simple cards and if you want to make a more busy composition, of course, you can do that as well. the sky is the limit!
 |
When I finished colouring the florals shown in this card, I decided to fussy cut them and I added to another panel made out of Craft Perfect Smooth Cardstock and I stamped that panel using Centre Cut Geometric Pattern Background Stamp.
I wanted to make a soft and delicate card so I also use SSS Surf Blue Ink to stamp the background and to try to keep the balance. However, my stamp had a bit of green ink from a previous stamping and the soft blue ink blended with the other one creating that nice mint colour. I love it!
|
 |
I like the idea of stamping patterned backgrounds on all the cards today.
For the cards above I used another fantastic background stamp called Deco Diamonds background Stamp that was also inked with green ink... Gosh, I need to learn to clean properly my stamps!
|
 |
I also die cut a circle from printer paper and I used it as a mask to protect the stamped images when stamping the background image on top and I did the same for the card below.
|
 |
I added a Purple Glittle Paper as backing panel and I embellished with clear sequins and NUvo Crystal Glaze.
|
PIN ME

That's all for today!
Thanks for stopping by and for your kind comments, I always read them all and I'm happy to answer any questions.
Subscribe to my blog here! or my Youtube Channel here! To receive notification when a new post or videos go live.
Happy Crafting and many hugs
x
Bibi
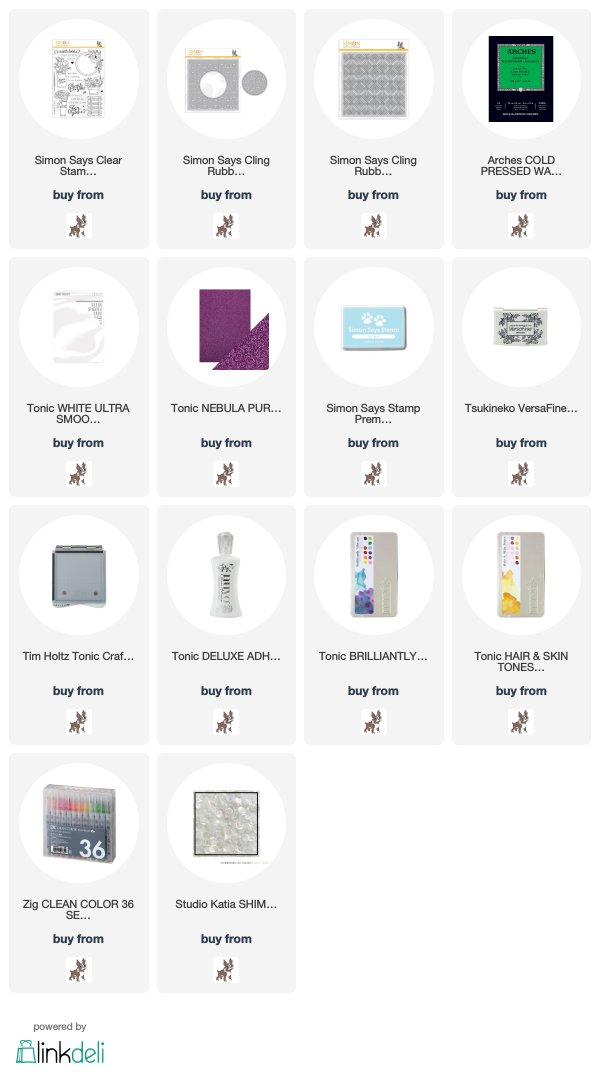
Supplies
Just a note to let you know that when you buy through the links below I get a small commission at no extra cost to you. Thanks for your support.


2 comments
These are beautiful!
ReplyDeleteBeautiful cards, nice to see how you take one image & make such a fabulous unique card. Thank you for inspiring me.
ReplyDeleteThanks for your comments.