Honey Bee Stamps Brie Mine Blog Hop day 2| Giveaway!!
January 26, 2019
Hello everyone, today I'm taking part of the day 2 of Honey Bee Stamps Brie mine Blog Hop - Day 2 Giveaway.
For today I'm sharing an extra cute Valentine's day card using beautiful images from Mae the Mouse stamp set by Honey Bee Stamps , the sentiments are from Brie Mine stamp set and the die cut fences /gate were made using one of the dies from Fram Fences die set.
For the card panels, I also used a double stitched square die and Stitched Square Scallop dies.
The size of this card is a 5 -3/4" x5-3/4" inches.
I 'm also sharing a short video to show you part of the colouring process here!
 |
| watch the video with all the products in Brie Mine release here! |
To colour the images I used Zigs and Arteza watercolour markers on Arches watercolour paper.

So I first stamped the mouse from Mae the Mouse stamp set using Antique Linen distress ink to apply an easy no -line watercolour.
I applied a little bit of colour at the edge of the image and I spread the colour towards the centre of the image using a water brush. If the tip of the water brush gets too inky I clean it to make sure I get very light shades of colour at the centre of the image.
Once you finish applying a few layers of colours I trace very fine lines with the tip of the watercolour markers to add little hairs or fur... This is very easy to do.
The fur effect looks even better when you use similar shades of colour to trace multiple little and fine lines and I also like to use a white fine tip Posca marker to add some tiny lines or highlights.

I then used the cloud stencil in Outdoor Scene Builder pack with 4 stencils and Spun Sugar Distress Oxide ink to easily create a background for this card.

To add colour to the fences. I applied pink, yellow and brown Zigs markers on my glass table ( or glass mat), I spray water over the inks and I dabbed the die cut fences on top so the paper absorbed the mix of colour and as a result, I got a distressed pinky - yellow look on the die cuts.
I also used Chevron Arrows background stencil to apply Wild Honey Distress Oxide Ink and Tea Dye Distress ink over the die cut fences to add extra texture.
To finish, I also splattered the fences with a Nuvo shimmer pen and a dark red Nuvo Aqua flow Pen.
I glued down the fences using foam double sided adhesives and I had the idea of folding the fences die cut to create a gate. Voila!

Using the Tim Holtz Stamping Platform I stamped the sentiments ( word by word) using Versafine Onix Ink. this ink performs nicely on watercolour paper and it is also great to work with waterbased inks as it won't bleed or blend.
I wasn't planning to make a video but I couldn't resist sharing part of the cardmaking process with you.
I hope you like it ...
Blog Hop:
- Amy Rysavy
- Carly Minner
- Ilda Dias
- Bibi Cameron You are here>>>>
- Nichol Spohr
- Vera Yates
Giveaway
Honey Bee Stamps is offering TWO $30 Gift Certificates to the Honey Bee Stamps Store, one from Hop - Day One here and one from the Day Two comments. In order to be entered to win, all you need to do is hop along with us and comment on each blog. Winners will be announced on the Honey Bee Stamps Blog on February 1st.
That's all for today ... Thanks for stopping by and let me know if you have any questions. I always read your comments and I'm happy to answer any query.
If you wish to receive my blog post or videos directly on your email please Subscribe to my blog here! or my Youtube Channel here!
Many hugs and happy crafting
x
Bibi
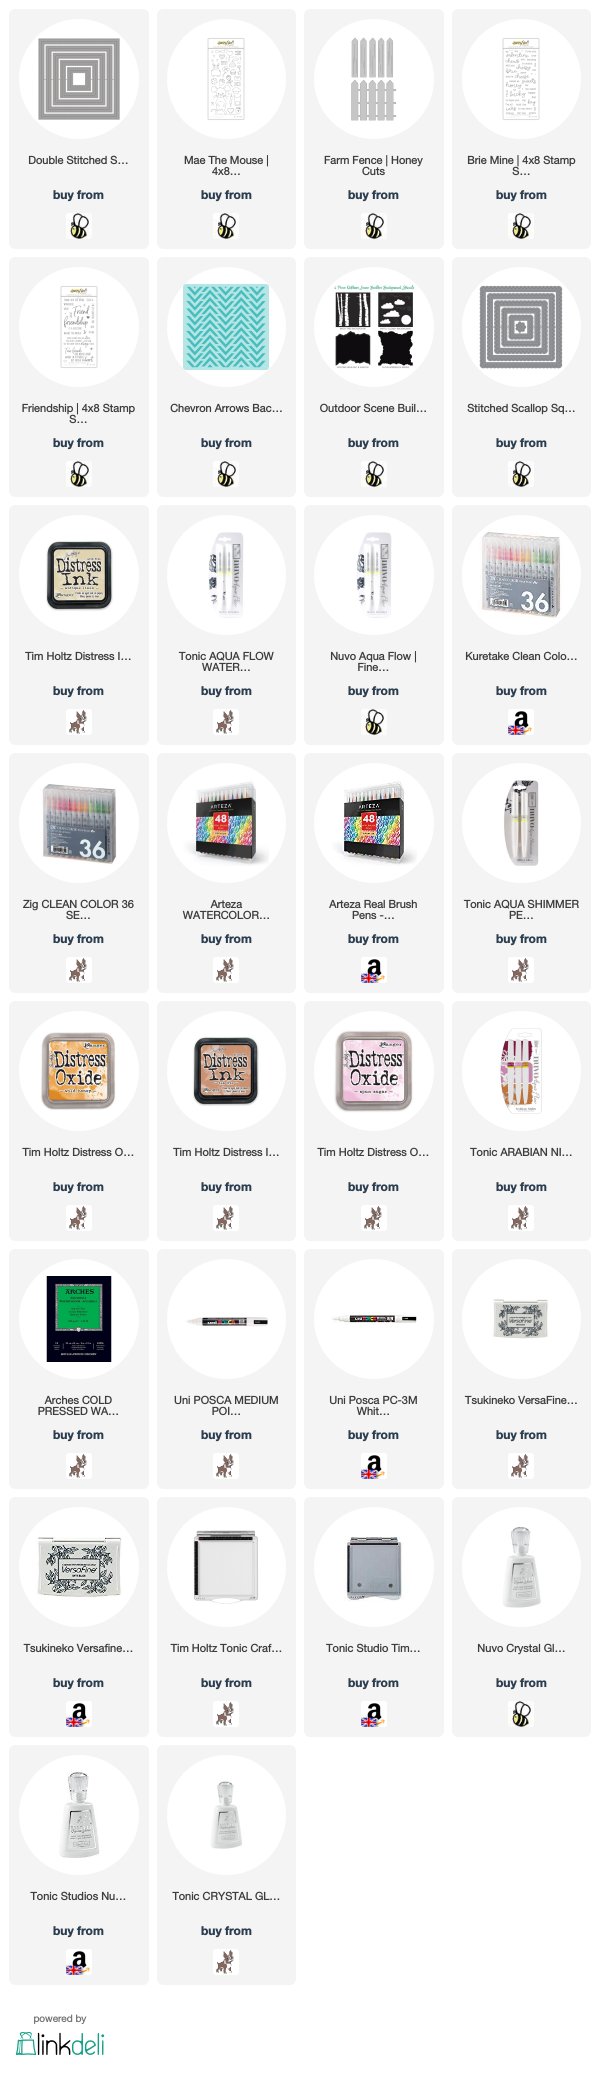
Supplies
Just a note to let you know that when you buy through the links below I get a small commission at no extra cost to you. Thanks for your support.


39 comments
WOW what a fine detail you get! I’m way too heavy handed.
ReplyDeleteLove how you added fur
ReplyDeleteI love your no line coloring. :)
ReplyDeleteYour card is fantastic!
ReplyDeleteWhat an ADORABLE card!! Your coloring is superb, and I love the way you did your fence!! So cute!
ReplyDeleteThis is so cute, I saw it on IG as well! :-)
ReplyDeleteI love blog hops because they inspire me to create--thank you. Your video is so helpful.
ReplyDeleteYour mouse is wonderful! Thanks for the video, it really helped.
ReplyDeletecomments don't seem to be sticking here but I love your mouse card !
ReplyDeleteSuper beautiful card! I could put up this mouse, because the design is so amazing. love your cards :)
ReplyDeleteLovely card!
ReplyDeleteLove your coloring and this cute scene.
ReplyDeleteSweet scene with this adorable mouse! Love your pretty coloring!
ReplyDeleteAwesome card! I love that adorable mouse & your coloring is amazing!
ReplyDeleteWow, this is super adorable, Bibi! I love the way you colored Mae the Mouse and added all the fine detailed fur. I like the dimension of the gate you put on the fence. Very creative - thanks for sharing!
ReplyDeleteGorgeous coloring! Very pretty card!
ReplyDeleteThe mouse is so cute. Love your coloring. Thanks for sharing your video.
ReplyDeleteYour card is so sweet. The video showing fur is so informative. The overalls on the mouse are so cute.
ReplyDeleteA darling Valentin's card. Loved the video and how you added fur to the mouse.
ReplyDeleteThis is such a sweet scene Bibi, I L♥VE it! This is the cutest mouse I have ever seen.
ReplyDeleteVery well done!
Your little mouse is super cute with his no-line watercolour! Against the background and fence he forms the perfect little scene! Thanks so much for sharing and inspiring us all!
ReplyDeleteI love the coloring of your card. It's awesome. I love it!! New subscriber!!
ReplyDeleteFantastic idea to make the gate
ReplyDeletealong with the fence. The
coloring is great. Love the
little mouse. thanks for
shring. txmlhl(at)yahoo(dot)com
Thanks for showing how you did the fur on the mouse! Love the card!
ReplyDeleteWow, your no-line watercoloring is simply amazing!!!
ReplyDeleteAwww!!! How cute!!! Lovely colors!!!
ReplyDeleteThat mouse is just so stinkin' cute! TFS!
ReplyDeleteSQUEAL!! Such a BEAUTIFUL Scene!! I LOVE the Design and the HAPPY Colors you used!! THANKS for sharing and have a FABULOUS WEEK!!
ReplyDeleteWhat a darling scene! Everything from that cutie to the fence is just perfect!
ReplyDeleteBeautiful card! Love your coloring!
ReplyDeleteAww such a sweet cute scene! So adorable :)
ReplyDeleteThanks for sharing your cute idea with this little mouse!
ReplyDeleteWhat a sweet scene! Your coloring is ah-mazing, both on Mae and that fabulous fence.
ReplyDeleteSuch a sweet scene and love the swinging fence. Thanks for sharing your tips and the technique video.
ReplyDeleteYour mouse is spectacular. I still need to try to do no line coloring...yours looks GREAT
ReplyDeleteLove how you created the scene for Mae, very creative. Thanks for the video showing the creative process.
ReplyDeleteI love everything about this card - from your coloring to that amazing, creative fence! Beautiful job!
ReplyDeleteSuch a sweet card! Gorgeous colouring!
ReplyDeleteI love this little country mouse! Great coloring and great fur!
ReplyDeleteThanks for your comments.