Pop -Up Floating Plane Easter Cards | Spellbinders Large Die of the Month March 2020
March 17, 2020Hi everyone, I made super duper easy pop-up cards using the Spellbinders Large Die of the Month - March 2020.
This month the die set is called "Basket Full of Bunnies" and it contains 9 individual dies that will cut 18 different shapes designed to make a super cute little 3D easter basket.
I thought the basket was perfect to do a Pop-Up - Floating Plane mechanisms applied to cards or small projects !!
Watch the video tutorial to learn how to make this
I used 270 grams and 300 grams cardstock to create the mechanisms.
In my video, I'm sharing 3 ways to do this.
What is important is that you understand how the mechanism works and you will be ready to do this effortlessly and with very little supplies.
You can cover part of the pop-ups with patterned paper.
I leave the pop-up exposed so that I could show you exactly what I did. Although I couldn't resist adhering an egg over the leg of one of the mechanisms, it was just too visible. lol
Basic Mechanism
For the mechanism you will need:
- 1" x 4-1/2" piece of paper
-Score at 1/2 inches at 2" and at 4"
-Trim the scored piece of paper at 1/4"
-Assemble as shown in the video.
All in One Mechanism

Not the easiest to explain on writing without a visual but easy enough to do and a very good looking mechanism.
For better instructions on how to do this please watch my video: minute 5:49

You will need 3/4" x 4-1/2" inches piece of paper
- Score 1/2" from both ends to create the mechanism flaps.
- Using pencil you will need to trace lines across the larger side of the paper at 2", 2-1/2" and 3" inches.
- Then you will need to trace additional lines at 1/4" from the border of the paper and along the longer side of the paper.
- Using a craft knife you need to cut over the parallel lines starting on the first line you have traced on the paper, passing over the other 2 lines across the paper and until the very last scoring line that creates the flaps of the mechanism.
- You need to cut both parallel lines in the same exact way.
- Once you cut the two parallel lines, you need to make a cut to join the lines and create an integrated leg of the mechanism.
- So cut over the scoring line to join parallel cuts.
- Assemble as shown in the video.
That's all for today I hope you like this idea and the Spellbinders Large Die of the month
Happy Crafting
x
Bibi
x
Bibi
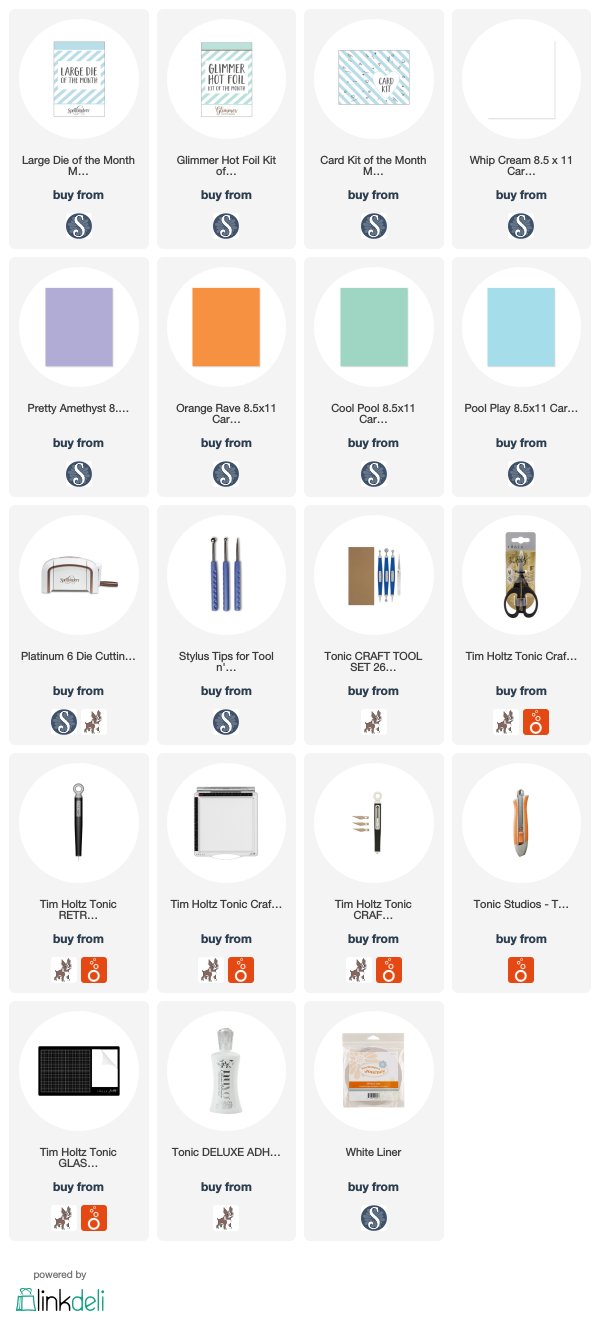
Supplies List
Just a note to let you know that when you buy through the links in my blog I get a small commission at no extra cost to you.


1 comments
TFS!! So inspiring and adorable. I created a BiBi board on my pinterest.
ReplyDeleteHugs
Kay
Thanks for your comments.