Cut & Emboss folders
Foiling with Embossing Folders
Foiling with Embossing Folders? DON"T DO THIS!!
April 12, 2019
Hello everyone, welcome to the Spellbinders Cut and Emboss Folders blog hop + Giveaway.
Today I'm sharing a box using Marrocan View Cut and Emboss folder and a couple of cards using Flora and Fauna and Floral Splash Cut & Emboss folders to share ideas and techniques using these beautiful folders.
Although I managed to foil using embossing folders, this is something you shouldn't try with your Spellbinders Glimmer Hot Foil System!!
After this post went live the Spellbinders team and I realized that the machine wasn't heating up properly so that it allowed me to do this!!
Apologies for this. We didn't have a way to know there could be a problem with the machine and this was a pretty rare case.
A replacement was sent and applying this technique on the Glimmer Hot Foil System is not possible. It might melt your embossing folder.
Today I'm sharing a box using Marrocan View Cut and Emboss folder and a couple of cards using Flora and Fauna and Floral Splash Cut & Emboss folders to share ideas and techniques using these beautiful folders.
This text has been added to the post please read:
Although I managed to foil using embossing folders, this is something you shouldn't try with your Spellbinders Glimmer Hot Foil System!!
After this post went live the Spellbinders team and I realized that the machine wasn't heating up properly so that it allowed me to do this!!
Apologies for this. We didn't have a way to know there could be a problem with the machine and this was a pretty rare case.
A replacement was sent and applying this technique on the Glimmer Hot Foil System is not possible. It might melt your embossing folder.
However, I want to leave this post live for inspiration using the embossing folders and also as a fun experience and a warning as well.
So this is what I did but you shouldn't do it
 |
Using Marrocan View Cut and Emboss folder and the Spellbinders Glimmer Hot Foil system, I foiled three panels of navy blue cardstock. I cut two of them in half to add them to the box sides and the extra one was used to cover the top.
This box measures 4-1/4" x 4 -1/4 " and is about 4" inches tall.
Lid size : 4 -1/4 x 4 -1/4 x 2 -5/8 ( Paper size to make the lid : 9 -1/2 " x 9- 1/2" socre at 2- 5/8 ")
Box Body : 4-1/4" x 4 -1/4 x 4" inches tall ( paper size to make the box body : 11-1/4 x 11 - 1/4" inches . Socre at 3 - 5/8" )
|
Step by Step
Foiling with Spellbinders Cut & Emboss Folders
First, we need to use the side of the folders that don't have embedded dies to apply this technique because this is the side that has the raised pattern.
Top Tip: I used a thin metal shim to increase the heat and to add sturdiness to the sandwich. Once the timmer ( green light) turns on I leave the foiling sandwich on the machine until everything feels warm and nice to the touch up ( 1 or a bit more minute will be ok).
There is no rush, the folder won't melt and nothing will get burned ( see step 5).

Everything will look pretty over foiled, right? That the ugly truth but this issue can be fixed.

I tried this 100 times as I have been experimenting with the foiling machine for a while. Depending on the folder you use you might get better results.
Embossing folders with small gaps or smaller spaces between raised areas should perform a lot better but this proves that you can use embossing folders with large gaps between embossing lines and make it work.
To fix over foiling issue I used two kinds of erasers: a sand eraser ( be gentle when using it ) and to polish I use a black soft art eraser (for dark cardstock) easy to get in a craft or art shop.
After foiling I use the folder to cut and emboss the paper again.. the effect is quite cool. I simply aligned the foiling areas with the pattern in the cut and emboss folder. ( see step 1 in the picture above) .
I also tried something else to share with you today and to share as much as I can using the folders.


I applied Fun Stamp Journey Liquid Colours on my glass mat and I mixed them with loads of water. Then I applied them onto watercolour paper using a small make- up brush . next I sprinkled the paper with FSJ Sparkle Silk.
I used Bubble Gum and Catalina Splash Liquid Colors.


I used the Spellbinders Glimmer Hot Foil System and I foiled a piece of watercolour paper using Flora and Fauna Cut & Emboss Folder. This folder produces the impression of beautiful butterflies so I fussy cut them using scissors.
I also trimmed part of the butterflies to make smaller ones and I used the makeup brush to apply a hint of FSJ Liquid Colour to the butterflies.

Blog Hop Order
- Spellbinders
- Jean Manis
- Laurie Willison
- Tina Smith
- Bibi Cameron You are Here!
- Inge Groot
- Desiree Kuemmerle
Giveaway
To celebrate this release, Spellbinders is giving away a $50 gift certificate to a lucky blog reader – selected from the comments across all of the blogs in the hop. Giveaway closes on Sunday, April 14th 11:59 pm EDT. Winners will be announced in the Spellbinders blog hop post the following Monday. The winner is responsible for shipping cost, duties, and taxes.
That's all for today I hope you enjoy these projects, ideas and techniques!
Thanks for stopping by and for your kind comments. I'm always happy to read and to answer any questions.
If you wish to receive my blog post or videos directly in your inbox please Subscribe to my blog here! or my Youtube Channel here!
Many hugs and happy crafting
x
Bibi
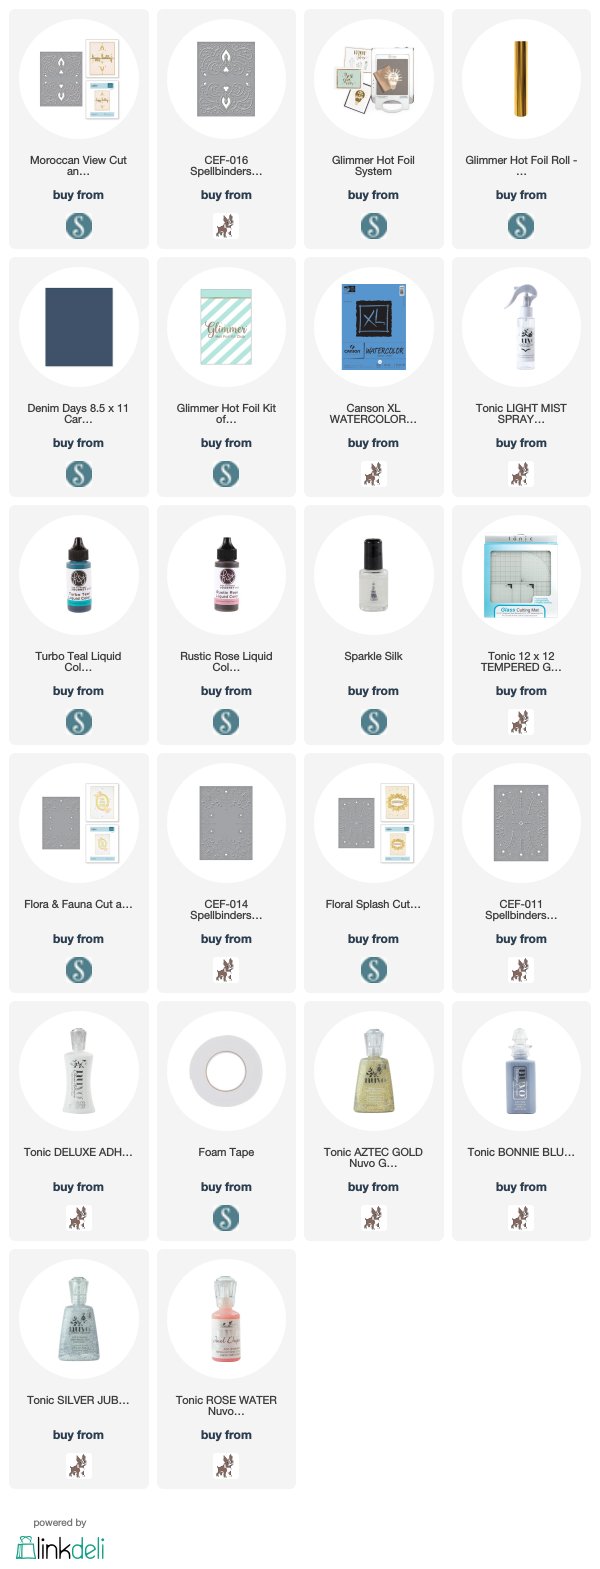
Supplies List
Just a note to let you know that when you buy through the links below I get a small commission at no extra cost to you. Thanks for your support.