aWhale Tail DIY stencil
Nautical Stamps
Ocean Themed Cards
Rest & Refresh release
Simon Says Stamp!
stencils
Rest and Refresh Release Blog Hop Details - Day 2 GIVEAWAY
June 08, 2019
Hi everyone, welcome to my blog and to Rest and Refresh blog hop + giveaway to celebrate a new Simon Says Stamp release!
I love the warmth of the beach and all related to it make me happy.
So for today, I'm featuring the coolest little images from Your Light stamp set and I made 4 cards in different sizes between 7"x5" inches and 5"x5" inches.
Explore the whole release here!
Watch 4- minutes video to see the technique and products in action
A boat, a lighthouse, a buoy, an anchor, clouds, a crab, fishes, birds, a lobster, starfish, a jellyfish, light rays plus seven (7) sentiments perfect to create encouragement cards.

I think they are fabulous to make little scenes inside masked silhouettes or a frame.

So I made my own super duper easy ocean-themed masks/stencils using printer paper, a pencil, a craft knife and Tim Holtz snips.

I then placed the mask/stencil on a piece of watercolour paper and I applied Distress Inks using a blending tool and Nuvo Sponges to create the silhouette.
Once this was done I sprayed water over the stencilled image to create a distressed look and white speckles.

I then left the mask on the watercolour paper and I stamped the images using Versafine Onix ink.
To apply colours I used water-based markers ( Zigs and Arteza).
TOP TIP: Apply a tiny amount of the marker inks on the images and then spread the colour over the images I used a water brush.

For the whale tail cards, I used a mix of Tumbled Glass and Stormy Sky Distress Oxide Inks and to add darker areas in one of the cards I also used Black Sooth and Chipped Sapphire Tradicional Distress Inks.

As I wanted to give you extra ideas, I searched online for seahorses and ocean themed silhouettes. I found many available for free.
I then download the images and I set my printer paper to 8x5 inches and 6x4 inches.
I then created the masks out of the printed images.
 |
| I used Worn Lipstick, Shaded Lilac and Fossilize Amber Distress Oxide ink for these cards. |
To finish ...
- I applied Nuvo Glitter Gloss Pen over the images but I also splattered the shimmer from the pen.
- I placed the negative mask over the images and then I splattered over the panel distress inks mixed with water and the ink of Nuvo Aqua Flow pens navy blue, lilac and yellow.
- For two of my cards today, I heat embossed sentiments on black cardstock using Simon Says Stamp Clear Ink and Nuvo Fine Detail white embossing powder.
- For the other cards, I stamped the sentiments using Simon Says Stamp black ink directly on the watercoloured panel.
- I embellished using Simon Says sequins Marina.

- Leave a comment for your chance to win a $25 USD voucher to spend on the Simon Says Stamp Shop.
- Winners will be chosen over the weekend and post on our Simon Says Stamp blog on Wednesday, the 12th of June.
Giveaway

BLOG HOP
That's all for today.
Happy crafting!
If you wish to receive my blog post or videos directly in your inbox please Subscribe to my blog here! or my Youtube Channel here!
Any questions? please ask. :)
x
Bibi
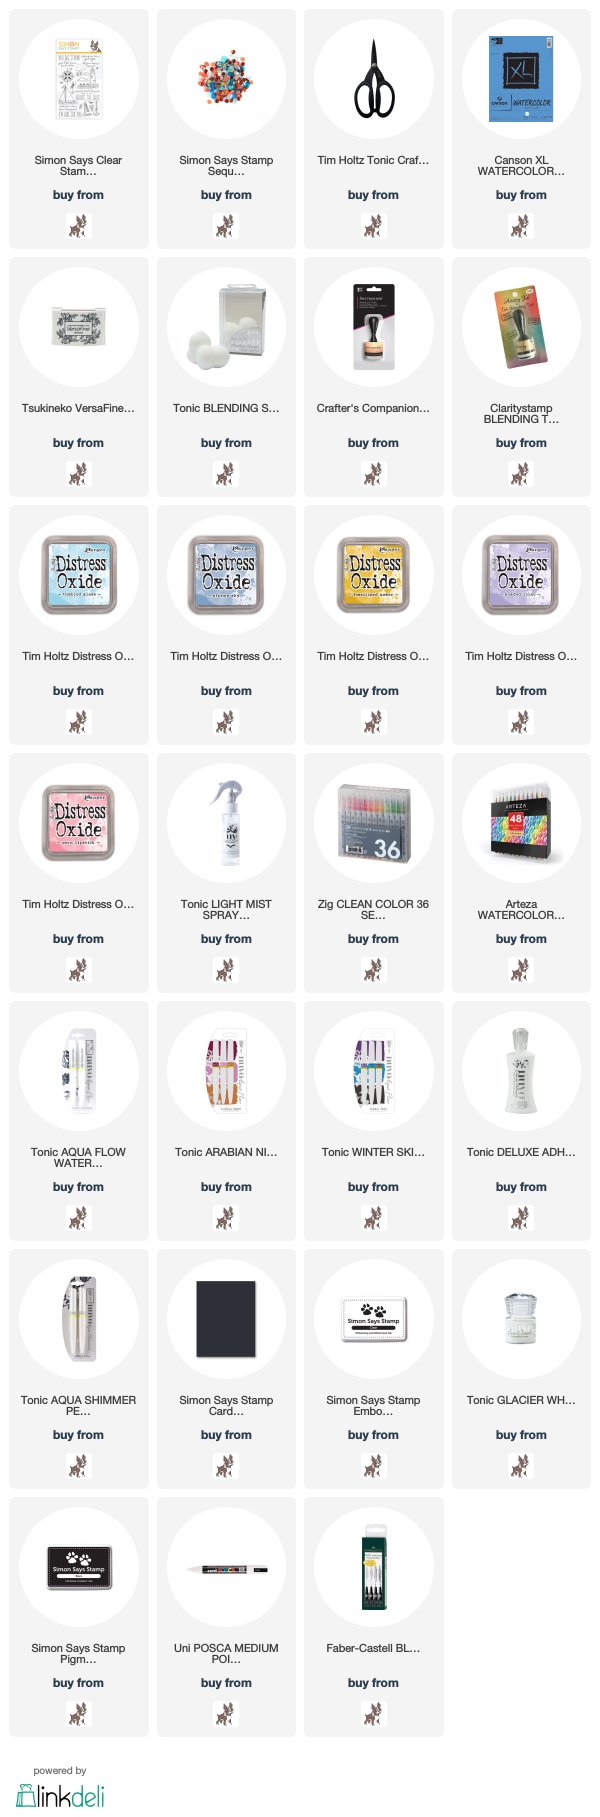
Supplies List
Just a note to let you know that when you buy through the links below I get a small commission at no extra cost to you. Thanks for your support.