Nuvo Expanding Mousses Colour Swatches + Video Post
October 22, 2018
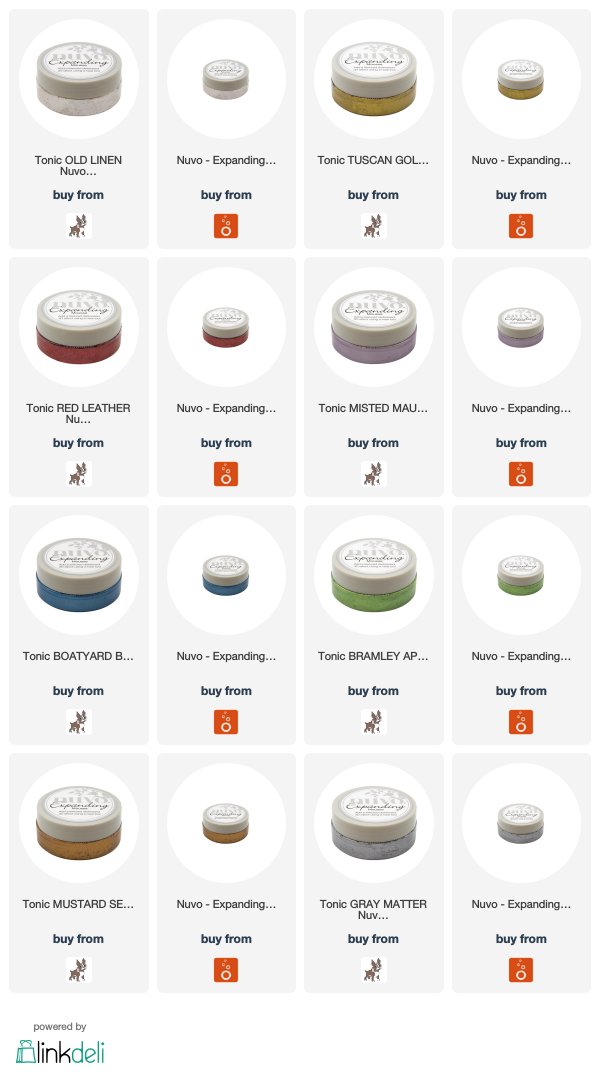
Hello everyone, have you seen the new Nuvo Expanding Mousses by Tonic Studios?
I had the chance to be amongst the first to giving them a try and I have a lot to say about them so grab a cuppa and check out this post with tips and ideas to use them and make sure to watch my video - demonstration.
You can also download Nuvo Expanding Mousses Swatch Sheet here!
The Nuvo Expanding Mousses have been designed to add dimension, texture, interest to the crafty projects.
All you have to do is to use your heat tool after applying the mousses and watch them EXPAND creating interesting and beautiful textures on backgrounds, die cuts, boxes, tags.

|
About the Mousses...
- As they are water- based you can blend them together or mix them with other water-based or water- reactive products such as Distress inks, Nuvo aqua flow pens, watercolour paint, Acrylics, Nuvo shimmery powders, Brusho crystal powders.. etc) so that you can create new colours and apply different techniques.
- You can also only dilute them with water to create metallic watercolour paints to add colour and shimmer to images, backgrounds, die cuts etc
- As the mouses are highly opaque, their colours look the same over any cardstock colour.
- you can apply heat at any moment after the application, even days and the mousses will always react to heat.
- Once dry or heat embossed you can't blend them as they become permanent.
- They are flexible, do not crack easily.
- When applied the mousses over the paper they look smooth and shiny and once heat embossed they look Mat /Opaque and grungy.
- You can apply the mousses with a sponge or a brush over paper, vellum, wood, metallic or plastic embellishment just to change their colour.
- To get a texture you need to apply a thick layer of the mousses.
- You can sprinkle glitter or embossing powders before heat embossing the paper for extra shimmer, extra effects, textures and colours.

- If you don't want the texture but a beautifully smooth and shiny finish then you don't need to apply heat.
- A light coat of the mousses will dry in seconds and a thicker coat of the mousse will dry in about 30 minutes. If you apply heat to a thicker coat of the mousses they will dry instantaneously as they will expand behaving just like embossing powders.
- They can be used over paper, wood, metal, glass, heat resistant acetate and fabric ( use on fabric products you don't need to wash)
EXTRA IDEAS
 |
Use any die to create your own stencils.
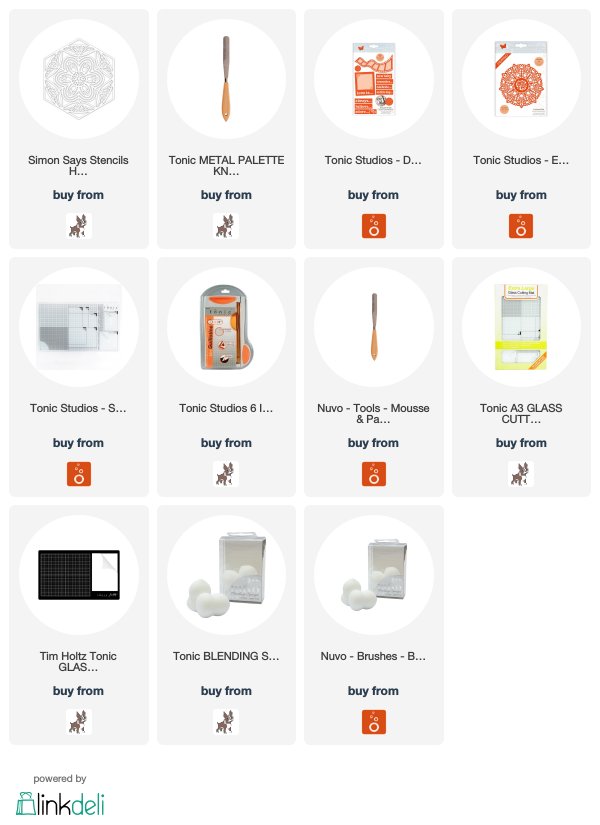
Here I use Tonic Studios - Essentials - Crocheted Doily Die Set - 2271E2.
Create rusty looking banners, metallic embellishments or die cut sentiments for your projects.
Use the New Vintage drops to embellish the stencilled image.
|
- Mix any stencils in your stash with your DIY stencils to enrich your card design. I also used different colours of expanding paste.
 |
For this sample, I use the new Distressed Text stencil by Tonic. I added extra words using my own DIY stencils.
Top Tip: Use a mirror or pearlescent cardstock to create your own stencil, the mousses slide easier on it and the paper do not get wet so that you will get a crispier stencilled image. Use the stencil only once for better results.
|
 |
I mixed the silver mousse and the ink of a black Nuvo Aqua Flow pen then I applied the new mousse colours with The distress text stencil by Tonic.
I also mixed Worn Linen expanding mousse (pearlescent white) with the ink of pinks and lilac Nuvo Aqua Flow Pens and I apply this shimmery pain over the flower petals. I then applied more ink of the Nuvo Aqua Flow pens in areas I wanted to get shadows or contrast.
To create the banner on this card, I applied the mix of Worn Linen expanding mousse and the ink of a pink aqua flow pen on a piece of paper and I allowed to dry overnight, next day I die cut the word "Adore" and I heat embossed the mousse to get a texture.
When the expanding mousse was still wet I also sprinkled it with sparkling dust (very fine glitter) then I heat embossed to add extra sparkled. |
 | ||
|
 |
TOP TIP: Apply the mousse over the paper, allow to dry overnight and die cut the paper the next day. Then heat emboss and watch the mousses expand.
This will allow you to get sharp edges on die cuts
|

 |
| Blend the mousses together or overlap their colours |
 |
| Change the colour of paper, vellum, wood, metal using the expanding mousses. Use spatula, sponges, brushes or your fingers to apply the mouses. |
Phew!!! That's all for today ... Thanks for stopping by and for your kind comments and I'm also happy to answer any question.
Subscribe to my blog here! or my Youtube Channel here! to receive notification when a new post or videos go live
Happy Crafting and many hugs
x
Bibi
Supplies
Just a note to let you know that when you buy through the links below I get a small commission at no extra cost to you. Thanks for your support.


3 comments
Wow! These are all beautiful! Those mousses look amazing and I must add them to my wish list! ;) Thanks for sharing!
ReplyDeleteFabulous blog post and video showing what we can do with the new expanding mousses. I thought I didn’t need them until watching your video! Now they look so exciting and lots of fun, I will wait and see how much I play with the one in craft kit 15 before I invest Lol Thank you for sharing Bibi :) xx
ReplyDeleteGreat blog post!! So much great information and techniques. I just received my Expanding mousses and this gives so many fun ideas to try. Thank you for sharing!!
ReplyDeleteThanks for your comments.