Christmas Card with Silent Night by Honey Bee Stamps | #thedailymarker30day
November 03, 2018
Hello everyone, today's card features products from the latest Winter Honey Bee Stamps release called Dearly Loved and filled with beautiful products for cardmaking.
I used: Silent Night Stamp Set, Silent Night Honey Cuts ( dies), Deckle Edge A2 Honey Cuts (frame dies) and Grass Border Honey Cuts ( dies)
This card measures 6"x6" inches
Deer size: 2-1/4" x 4-1/2" inches
I'm also joining the #thedailymarker30day colouring challenge and I'm also sharing a speed video to show you how I coloured the deer and the bunny.
In the video, I stamped the images using Tea Dye and Antique Linen Classic Ink and I allowed it to dry so that it didn't bleed that much when adding washes of colour on top but instead it blended nicely. You can only use Antique Linen but I like darker outlines.
To add colours I'm using Kuretake Clean Color real brush and a Nuvo water Brush to add colour to the images. I found the ink of this markers to perform better and to blend easily and evenly. with other markers, I just get patches of colour over the areas I first apply the ink.
It is possible to think that watercolour is complex but trust me it is not. The "KEY" is to use the right materials or supplies. Some watercolour papers won't allow you to blend the marker inks like I show in the video and you will tend to think that is your fault but blame the paper.
I apply a tiny bit of the "Zig" marker ink directly on the paper and at the edges of the images and with the water brush ( in tiny circular motion) I spread the ink towards the centre of the images.
I do not apply a lot of water, the tip of the brush is slightly wet and sometimes I dried it up using kitchen paper.
I do not apply a lot of water, the tip of the brush is slightly wet and sometimes I dried it up using kitchen paper.
Sometimes I apply three different shades of similar colours from the marker on the paper and I blend them with the water brush.
Sometimes I overlap the colours ( to do this, I allow the ink to dry and then I apply another layer of colour on top) to create shadows and add volume but overall I never think too much about what I'm doing.
After doing all that, I use a clean water brush over the whole thing to avoid hard lines and to get a smooth effect.
I love applying yellow ink to add a warm look to any image so you will see me adding yellow on everything.
 |
To make the background I made my own mask by tearing a sheet of paper in two just like I show in the video here.
I used Tumbled Glass Distress Ink and I stamped the trees using Peeled Paint Distress Oxide Ink.
I splattered the background using a white posca marker and I die cut it using Deckle Edge A2 Honey Cuts .
|
 |
I like to pay attention to small details. I think they make HUGE differences.
I used black Nuvo drops on the animal's eyes and Nuvo Crystal Glaze on the noses. I also used a shimmer pen over the images.
I also apply glitter over the grass and the trees to make it look like snow and tiny black and white dots or hairs on the critters.
|
 |
I like to use arches watercolour paper. I know is a bit pricey but it makes a HUGE difference. I think it makes the watercolour painting a lot easier. I also like Darwent watercolour paper and Canson.
|
That's all for today.
Thanks for stopping by and for your kind comments, I always read them all and I'm happy to answer any questions.
Subscribe to my blog here! or my Youtube Channel here! To receive notification when a new post or videos go live.
Happy Crafting and many hugs
x
Bibi
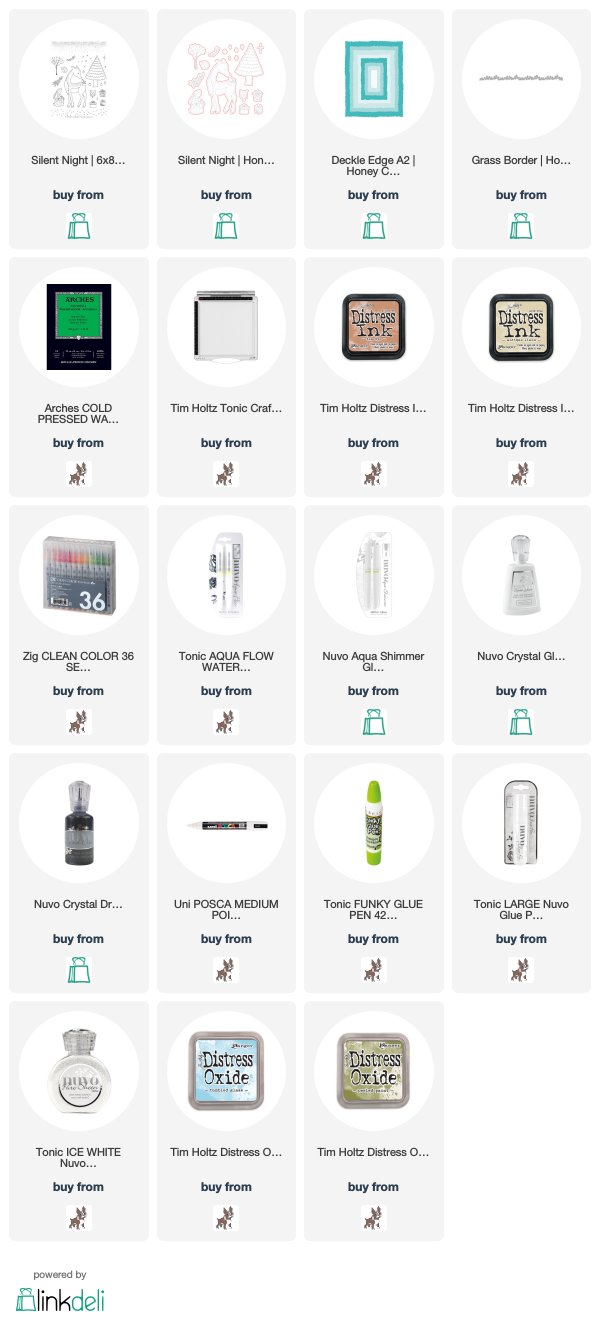
Supplies
Just a note to let you know that when you buy through the links below I get a small commission at no extra cost to you. Thanks for your support


4 comments
Fabulous colouring Bibi, I love this stamp set it’s so adorable, I loved watching your video, going to try out your techniques that you’ve described on your blog xx
ReplyDeleteThank you sweet Cal. :) x
DeleteSooo pretty! Love!
ReplyDeletethank you. you are always so kind :) x Hugs
DeleteThanks for your comments.