Watercolour Die Cuts + Spellbinders Small Die of the Month June 2020
June 11, 2020Hi everyone, I decided to create my own watercolor paper to then die cut it using dies in the Spellbinders Small Die of the month.
This is a gorgeous 13 pieces die set.
Coloring Mediums
- I used a wide Nuvo Brush to apply Arteza half pans watercolors on Arteza watercolor paper.
- I applied two washes of color.
- I allowed the first wash to dry before applying the second one.
- Once the paper was dry, I used the Spellbinders Small Die of the Month to die cut it.
- For skin tone, I mixed red and yellow watercolour paints with loads of water.
Watercolour Tips
- For extra texture and color contrast, mix various colours of paints on the first wash e.g. red, orange, and yellow for the flowers. Green + Yellow for the leaves.
- Blend them paint colours a wee bit over the wet watercolour paper.
- Patches of colour. Visible strokes are highly desired.
- Do not aim for perfection. The most uneven the watercolor paint is applied on the paper, the prettier the die cuts will look.
After die-cutting. I chilled out, grabbed a cuppa, and I put together several little flowers!
I saved several die cuts to share more projects on the monthly kit Blog Hop on June 22 - 2020
Watercolour Look and Feel
So every single die-cut on the cards in this post ( included the hands) were cut out of previously watercolored paper.
I only used gold glitter paper to add an accent to the center of the flowers.
Due to their look and feel, these flowers can easily become the central focus of clean and simple cards.
Foiled Sentiments and Banners
I think this kind of composition needs a very small and elegant sentiment.
Here, we don't need something that overwhelms the images. The die-cut images are the stars and they have to keep their place.
So I used glimmer plates below to create hot foiled little banners :
For this card, I also used dies from the new Elegant Twist Ovals die set by Beca Feeken here!
The Paper
I recently bought 300grams Ultra Smooth Cardstock from a British retailer called Papermill Direct! WOW, that cardstock is absolutely stunning. It is super thick, ultra-white and it has a silky surface.
It adds a luxurious finish to the cards and doing foiling over this paper was a pleasure as well.
- For the Flowers, I used Arteza Double-Sided Expert Watercolor paper available in the UK here and the USA here.
- For the card base, I used FSJ Rocky Candy cardstock this is a super pretty smokey grey color.
- I'll need to add a white insert inside each card to be able to write the messages. What I usually do is to cut a panel and write on it my message. If I don't make mistakes ( I always do) I then adhere it to the card base.
For this card, I also used Love Stripes embossing folder to add texture to the blank background.
That's all for today.
I hope you like these projects.
Thank you very much for stopping by.
Hugs
Bibi
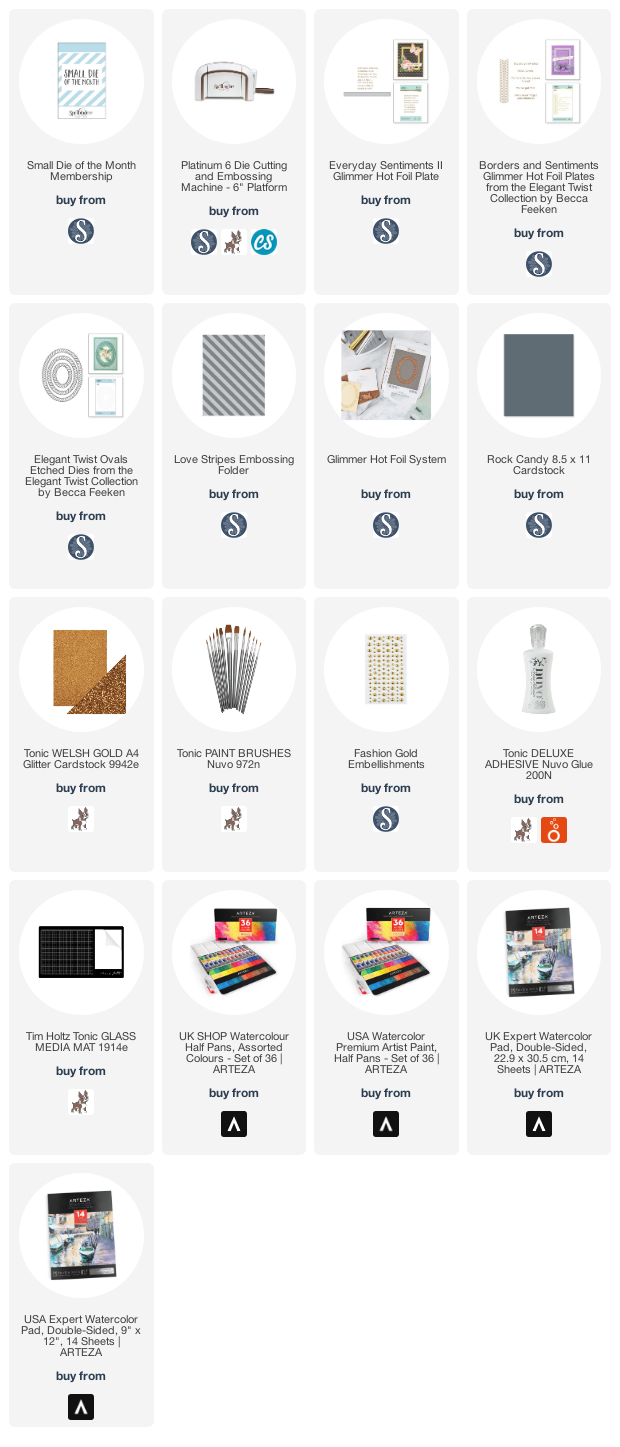
Supplies
Just a note to let you know that when you buy through the links in my blog, I get a small commission at no extra cost to you.
Thanks for your support!


0 comments
Thanks for your comments.