Watercolour Die Cuts | D-Lites Lion, Oh my! by Spellbinders
May 03, 2019
Hi everyone, I made this extra cute birthday card using D-Lites Lion, Oh my! die set by Spellbinders. This die set is from a die set collection released last month and they got the cutest die sets to create cards for any occasion. You can explore the collection here!
So D-Lites Lion, Oh my! set includes several tiny, microscopic dies to add eyes, chick and little details to the little lion.
At first glance, you won't know what is what but once you run everything through the die cutting machine things gets a lot of sense plus in the packaging, you will see a card sample that will allow you to identify the different die cuts.
I placed all the die cuts on a piece of Craft Perfect watercolour paper and I run everything together on the Spellbinders platinum die-cutting machine.
Once I identify the different pieces I applied colour.

I use Kuretake Clean colour real brush - Zigs ( water-based markers) and with the help of a Nuvo water brush, I spread the colour over the die cuts. This was easy and quick.
I then glue different die cuts together. I wanted to add dimension the lion's head so I adhered the face on the mane using double-sided foam adhesives and I glued his head a little bit tilted because
I also wanted to give him a happy expression.
I also wanted to give him a happy expression.
The party hat is a super cute element as well... I embellish it with Blue Lagoon Nuvo crystal glitter drops.
Once I had my beautiful lion finished, I made the card background. I wanted something vibrant so I used Distress Oxide inks on a piece of watercolour paper.
Blueprint ( around the edges) and Tumble Glass ( in the centre ) and I splattered it using water and a Nuvo Shimmer pen. The key to achieving this look on the background is to splatter the paper, allow it to dry and splatter the paper again. Allowing to dry after splattering the paper over and over.
Blueprint ( around the edges) and Tumble Glass ( in the centre ) and I splattered it using water and a Nuvo Shimmer pen. The key to achieving this look on the background is to splatter the paper, allow it to dry and splatter the paper again. Allowing to dry after splattering the paper over and over.
I embellished the flowers with Nuvo Aztec Gold accents, Nuvo Rose Water Jewel Drops and Nuvo Gold Luxe Dream Drops. All the supplies are listed below.
That's all for today ... Thanks for stopping by and let me know if you have any questions.
PIN ME
Many hugs and happy crafting
x
Bibi
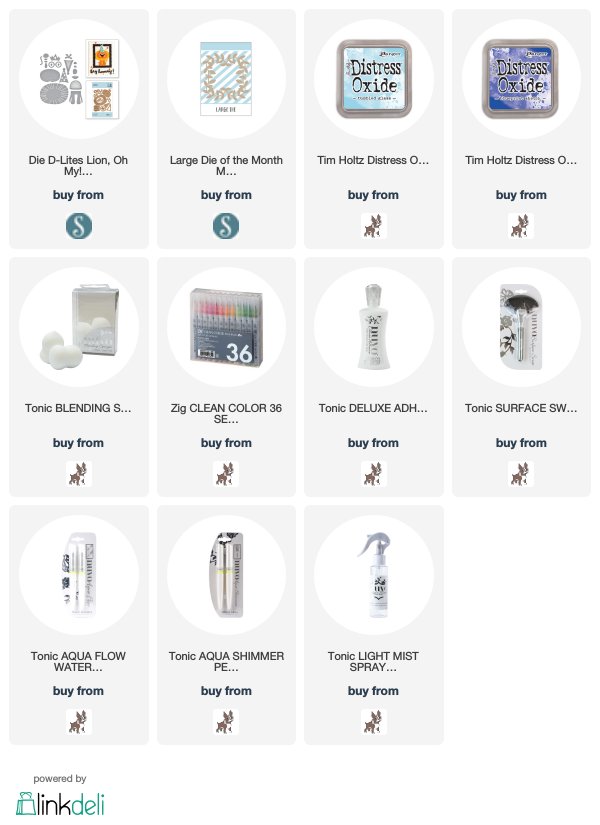
Supplies
Just a note to let you know that when you buy through the links below I get a small commission at no extra cost to you. Thanks for your support.


0 comments
Thanks for your comments.