Surprise Card + Copic No-Line Coloring with Beautiful Mermaids by Simon Says Stamps
June 29, 2019
Hello everyone, so many new little things I want to share with you today.
First, this is perhaps my first no-line coloured image using Copic Markers!!!
I enjoyed colouring the little mermaid from Beautiful Mermaids Stamp set by Simon Says Stamp, although as a newbie on this technique I was getting a bit worried because I couldn't see my mermaid getting any shape!!! Noooo... it was until I applied contrast and details using coloured pencils and highlights using a white marker when things make more sense! YAY.
For today, I'm also using cool Simon Says Stamp supplies such as Buys Stencil and Perforated Flaps Dies ...

Bouys Stencil
I'm also loving the results of using Bouys Stencil with Nuvo Hybrid inks and a small make-up brush.
I effortless could do some shading by applying a darker ink ( purple) around the edges of the stencilled images so that the stencilled buoys look super cool.
I used Polar Ice, Laguna Bay, Royal Plum Nuvo Hybrid Inks BTW.
Top Tip: I always spray temporary adhesive at the back of the stencil to adhere it to the cardstock while working with inks so that the stencil is always in place.

No Line Coloring Ink
Another new supply to me is the absolutely fantastic Inkon3 fadeout No Line Coloring Ink.
I give this ink 5 out of 5 to apply no line colouring and I'll advice stop reading this post and RUN to buy yours if you haven't done it ... It is a have to have.
A dear friend recommended me when it was launched to the market... I have seen how her work looks even more and more stunning with the time and she is using this ink to apply no-line colouring using different colouring mediums.
I ordered mine after looking one of her last posts on instagram and I couldn't be happier!!!! Truly awesome Ink!!
I ordered mine after looking one of her last posts on instagram and I couldn't be happier!!!! Truly awesome Ink!!

Surprise Card
I'm also using the super fun Perforated Flaps dies this will allow you to create an interactive card and you can hide behind the flap a gift card, a secret message, money or anything else that fit in the aperture.
Your recipient can then tear the paper and find their surprise inside!! isn't it cool?
In the picture below you can see how the perforated flap works...

See? All you have to do is to place your gift behind the flap and stick the die cut panel on a card base, you can use double sided foam if you wish to place behind the flap a thicker surprise gift. eg a small piece of jewellery or flat chocolate.
This is also a very cool die to create money- cards for Christmas or with the smaller die in the pack you can also make an advent calendar.
Finishing Touches
I applied Nuvo Shimmer Pen over the stencilled image and Nuvo Crystal Glaze on the bubbles.I used Nuvo Dream Drops Cloud 9 to add a pearl in the centre of the seashell next to the mermaid.
To embellish I also added a few sequins.
That's all for today. I hope you enjoy my post today!
Happy crafting!
If you wish to receive my blog post or videos directly in your inbox please Subscribe to my blog here! or my Youtube Channel here!
Any questions? please ask. :)
x
Bibi
If you wish to receive my blog post or videos directly in your inbox please Subscribe to my blog here! or my Youtube Channel here!
Any questions? please ask. :)
x
Bibi
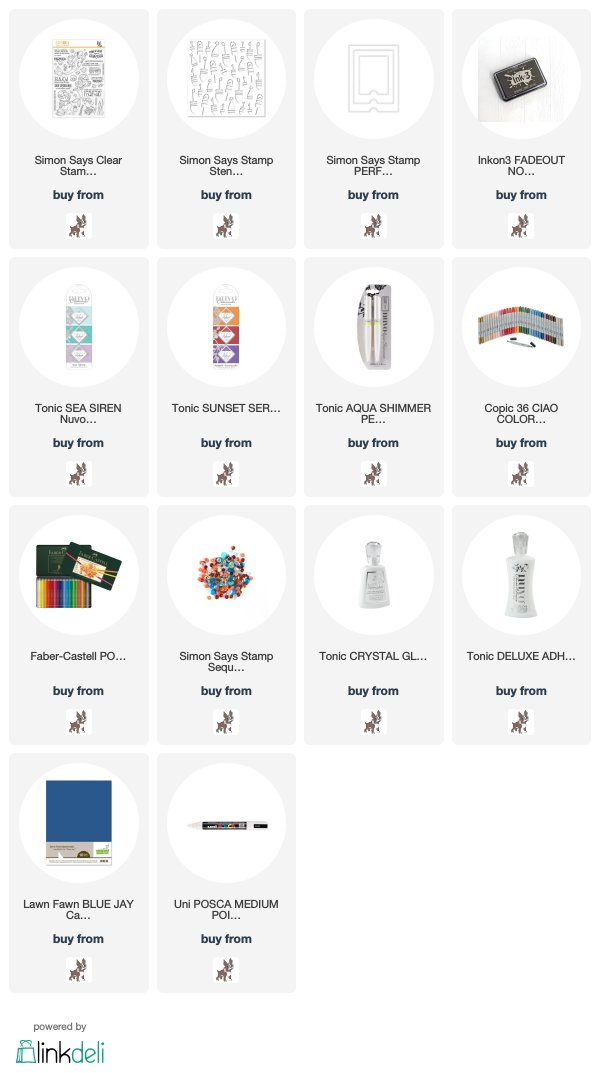
Supplies List
Just a note to let you know that when you buy through the links below I get a small commission at no extra cost to you. Thanks for your support.
Just a note to let you know that when you buy through the links below I get a small commission at no extra cost to you. Thanks for your support.


0 comments
Thanks for your comments.